Adding Tomcat Manager to Blessed Java Images on Linux App Service
By default Tomcat Manager on Azure App Service Linux is not enabled. This blog post will show how to do that.
Pre-requisites
You will need to get ahold of the “Manager” portion of a Tomcat installation. To be safe, download a version of a Tomcat major that matches the major you expect to run on. A view of downloads can be seen here.
Once you have this (or it’s already existing), go to the file location after installing Tomcat locally. Navigate to the webapps directory and a manager folder should be seen.
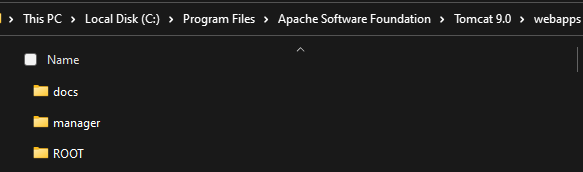
This manager folder will be needed for later.
Create the application
Follow this quickstart to create a Java/Tomcat application on Azure App Service Linux.
Make sure when creating the application the Java web server stack is set to Apache Tomcat x.x. Setting thise to Java SE will use an embedded Tomcat server which will not work here.

Configure the application
Configure existing Tomcat
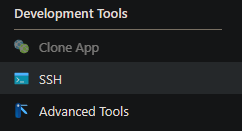
SSH into the application through the Azure Portal.
Next, we copy over the existing Tomcat installation under /home. This will also update the Catalina Base to our new location. We do this because we’ll need to make changes to context.xml under tomcat/conf/. If we don’t persist this under /home, it will disappear after a restart (by design).
In the terminal, run cp -r /usr/local/tomcat/ /home/tomcat. Using ls /home, you should now see the new tomcat directory.
For more information on updating Tomcat for persistence on App Service Linux, read here.
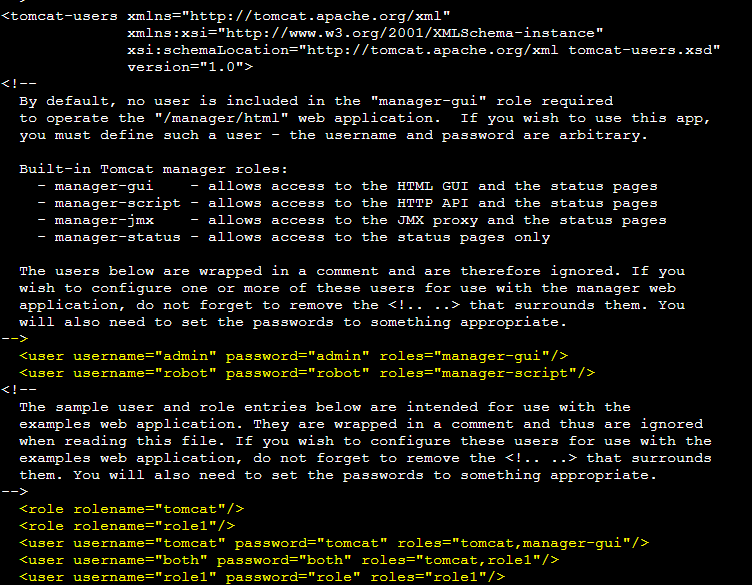
Edit /home/tomcat/conf/tomcat-users.xml
Either with an FTP client or through the terminal with your favorite text editor, uncomment and change the passwords for the below users - the passwords can be one of random choosing. Additionally, make sure to add the manager-gui role to the tomcat user:
Add the Manager folder
First, create a folder named webapps under `/home/site/wwwwroot/.

Within /home/site/wwwroot/webapps, add the Manager folder that we covered earlier in this blog. Make sure it is not a .zip file. This can be uploaded with an FTP client.

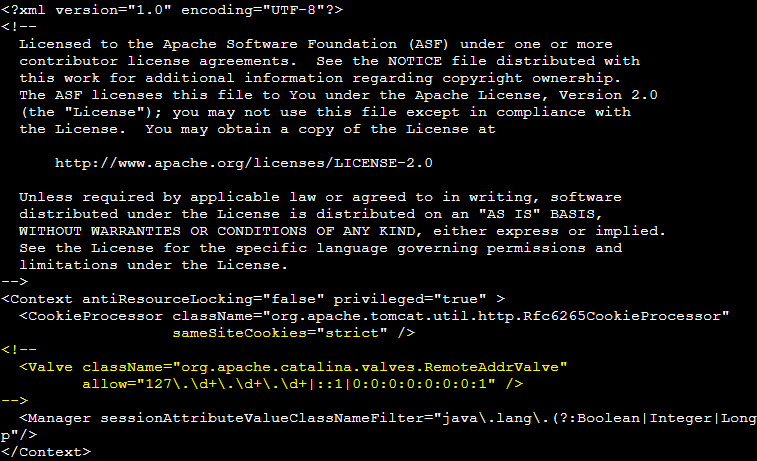
Edit /wwwroot/webapps/manager/META-INF/context.xml
Navigate to /wwwroot/webapps/manager.
Under our new managers directory will be a META-INF/context.xml file. We need to make the following change by commenting out the below Valve. Do this change with FTP or your favorite text editor.
Faluire to do so will have the managers UI always return a HTTP 403.
After all of the above is done, restart the site.
Accessing Tomcat Manager
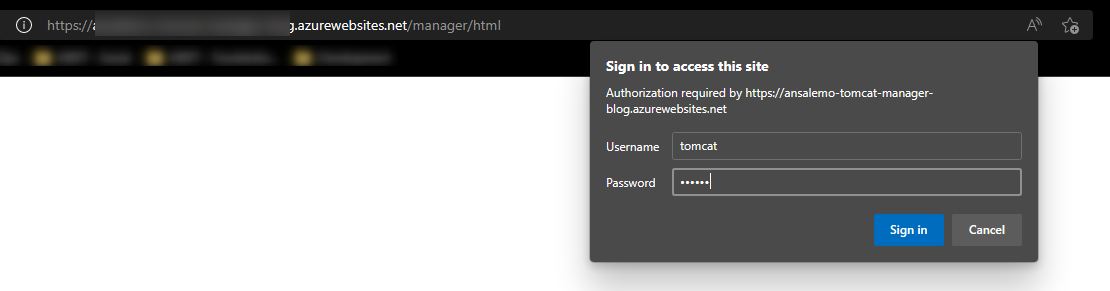
Access the manager through https://yoursite.azurewebsites.net/manager. A authentication popup will appear. Enter the tomcat user as the Username and the associated password you set:
And you should now see the dashboard:
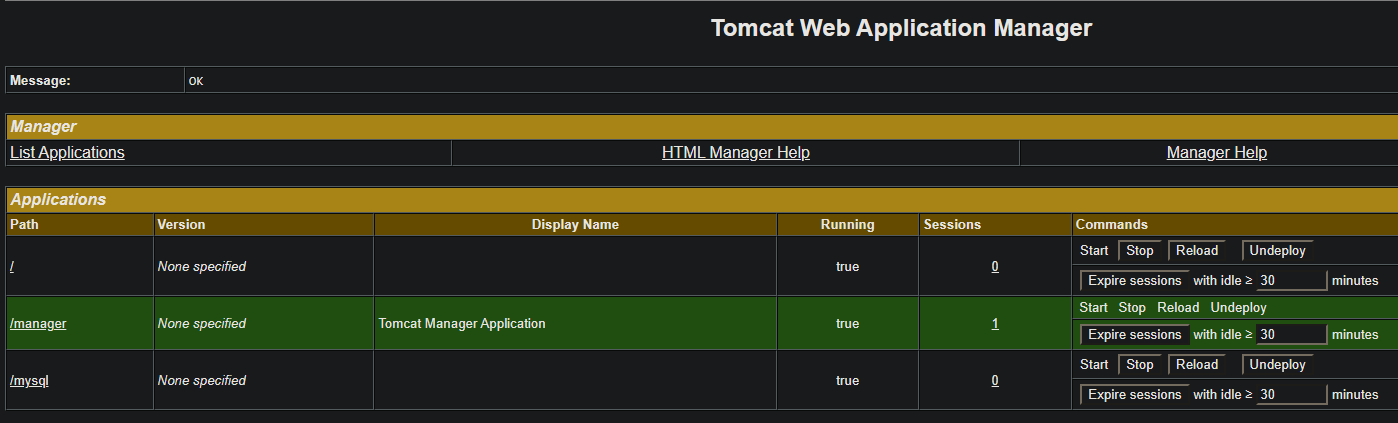
When deploying to a different context (“/mysql”), this will now show under this dashboard.
Points to note
Since /webapps/ now exists under /home - to avoid any unexpected routing issues, root context applications (“/”) should be deployed to /home/site/wwwroot/webapps/ROOT. See this link here; or here - note the --src-path for the AZ CLI method.
When not specifying the target path (context), by default, the .war will be renamed to app.war (depending on how you’re deploying) and placed under /home/site/wwwroot. This may cause issues of precendence if this exists.


