Deploying War Files On Windows App Services with GithubActions
This blog will go over how to deploy your .war file to a Windows App Service using Github Actions.
How To
This blog will use a spring-boot application created using spring initializer.
Validate and test the application locally.
This section is optional if your team as an already existing project. If your team already has your application, you can skip to the deployment section.
-
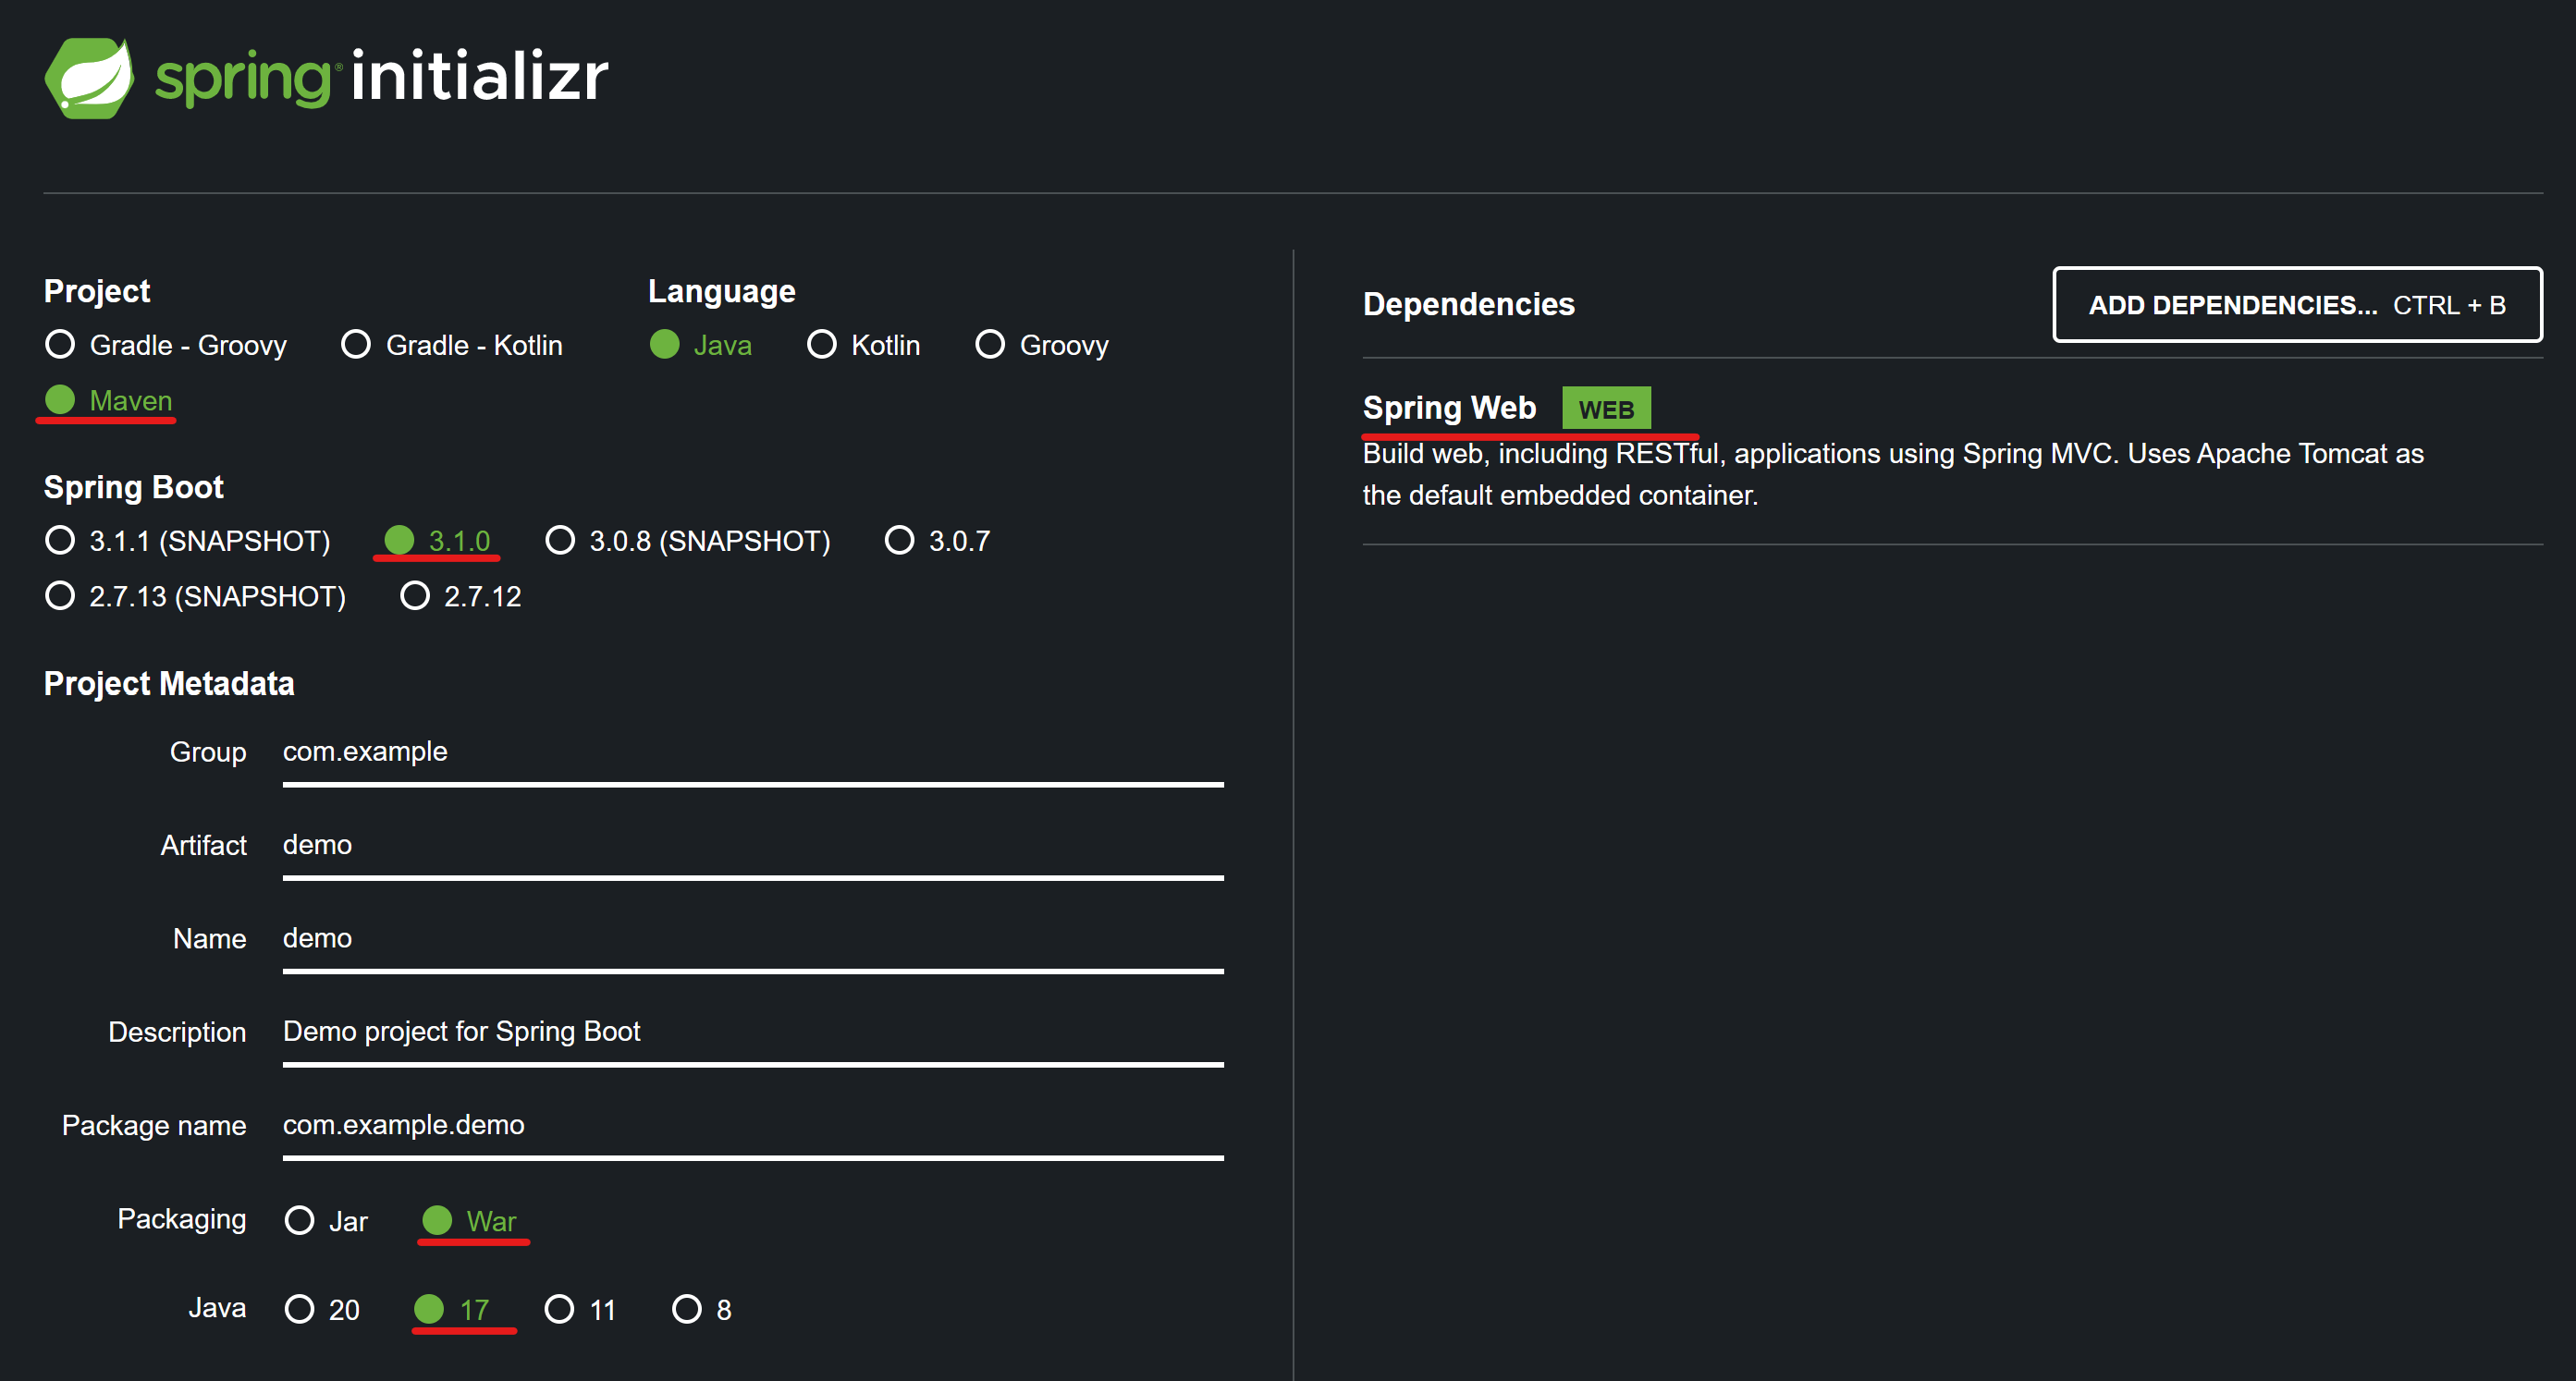
Navigate to spring initializer and generate your project. For this project we will use the following parameters.
- Java Version: 17
- Spring-Boot: 3.1.0
- Project Management: Maven
- Packing: WAR
- Dependencies: Spring Web
-
Add a Hello World Controller to display a 200 response. This file will be created under demo\src\main\java\com\example\demo\HelloController.java
 package com.example.demo;

 import org.springframework.web.bind.annotation.GetMapping;
 import org.springframework.web.bind.annotation.RestController;

 @RestController
 public class HelloController {

     @GetMapping("/")
     public String index() {
         return "Greetings from Spring Boot!";
     }

 }
Note this step is optional, however when testing you will receive a 404 response from spring boot if you do not add this.
This hello world controller above is built from a reference of the below spring tutorial. Building an Application with Spring Boot
-
Test your application runs successfully by running the below command and navigating to http://localhost:8080.
mvn spring-boot:run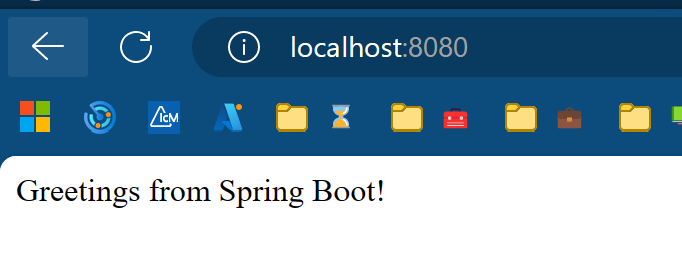
Additionally your team can download apache tomcat on your local machine and validate the application functions successfully running as a .war file. Below are some open source tutorials on how to accomplish this.
-
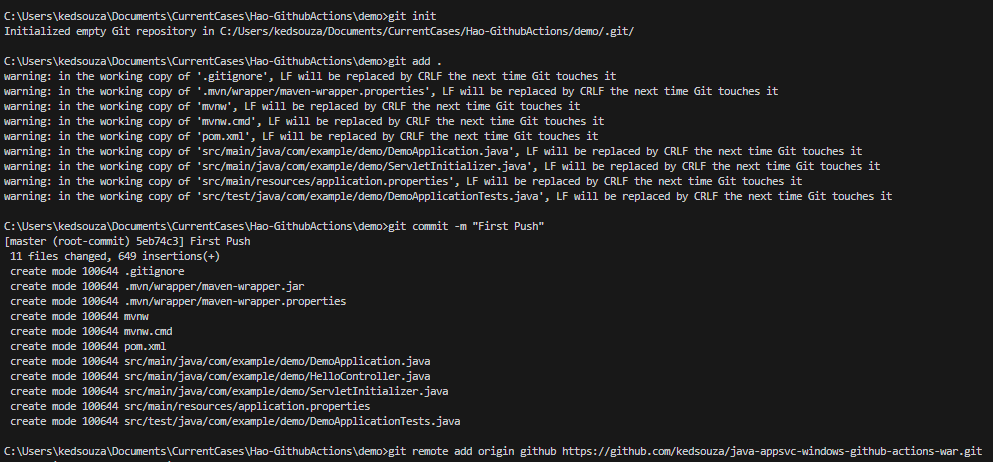
Initialize and push the project to your Github Repo.
This blog will not cover in depth on how to do this, but below is a tutorials on how to accomplish this from Github.
Adding locally hosted code to GitHub
Here is the link to my github repo I am using: kedsouza/java-appsvc-windows-github
Configure deployment from Github Actions.
-
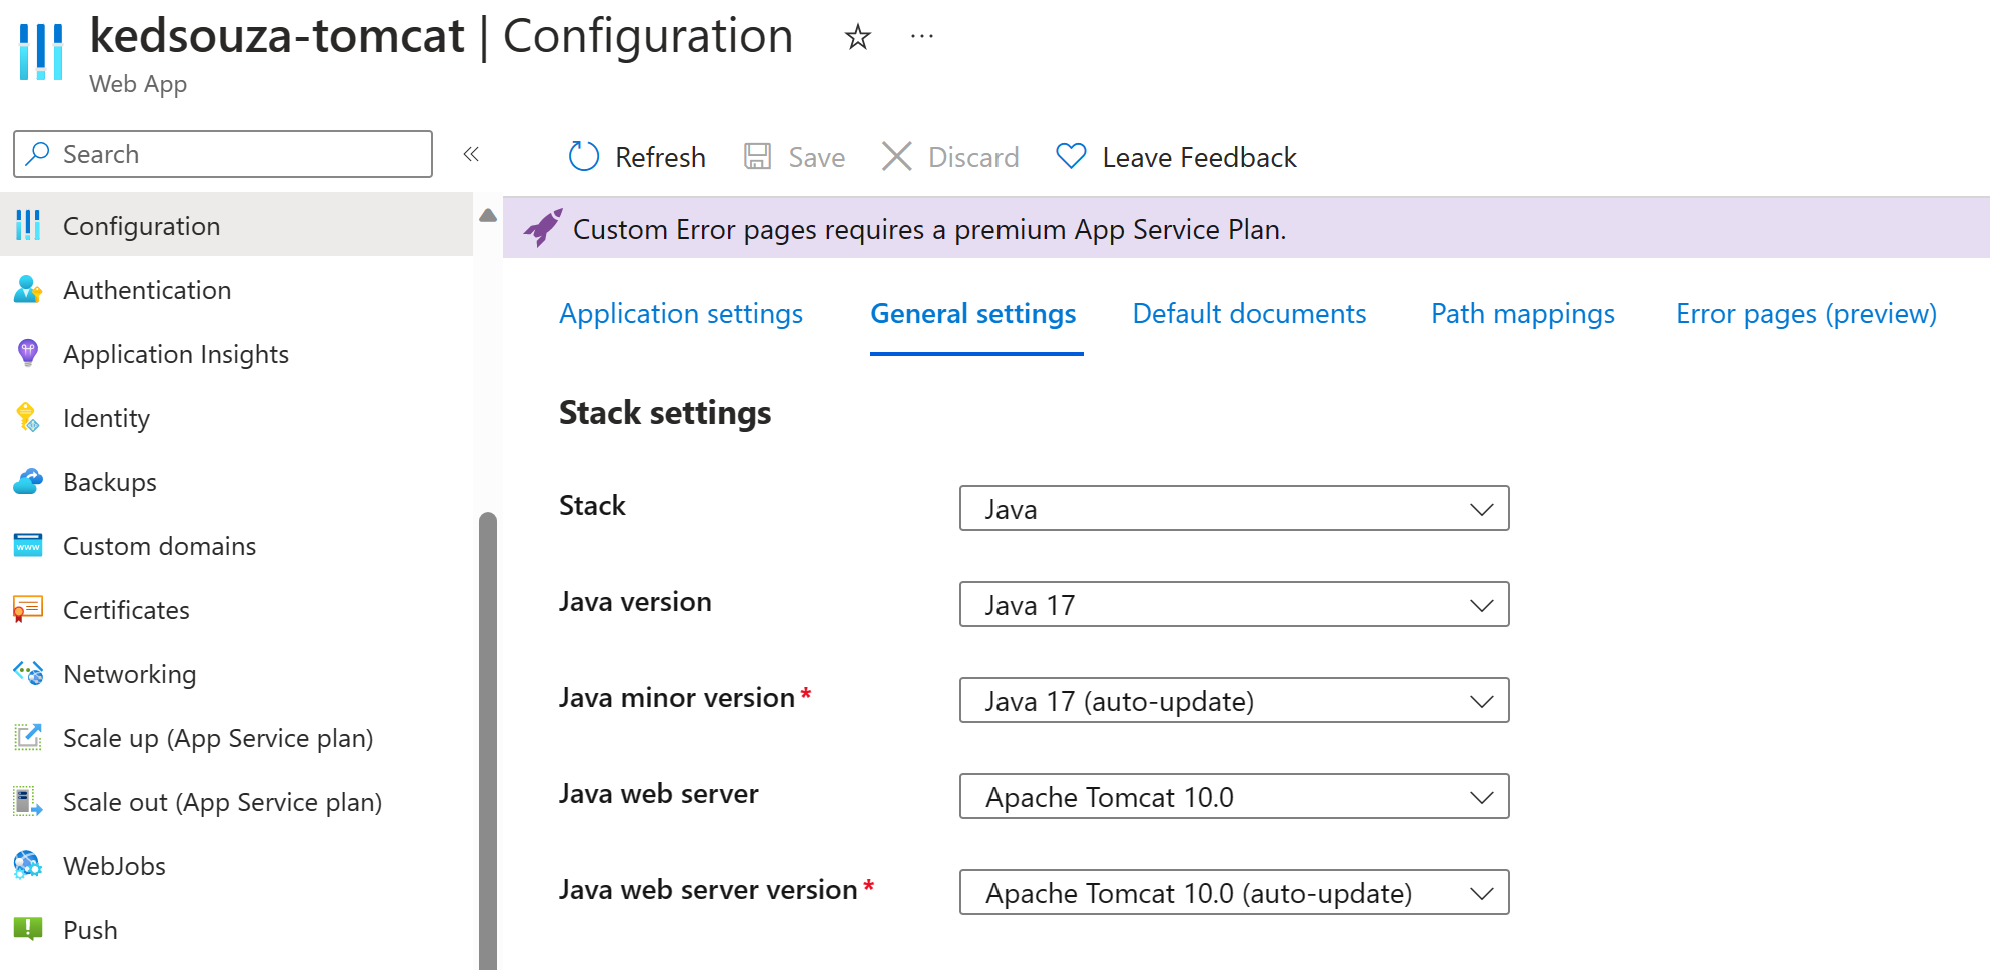
Configure your Windows App Service to use the desired Java and Tomcat Version. These settings can be found under Configuration -> General Settings
-
Set up your Deployment From Github Actions.
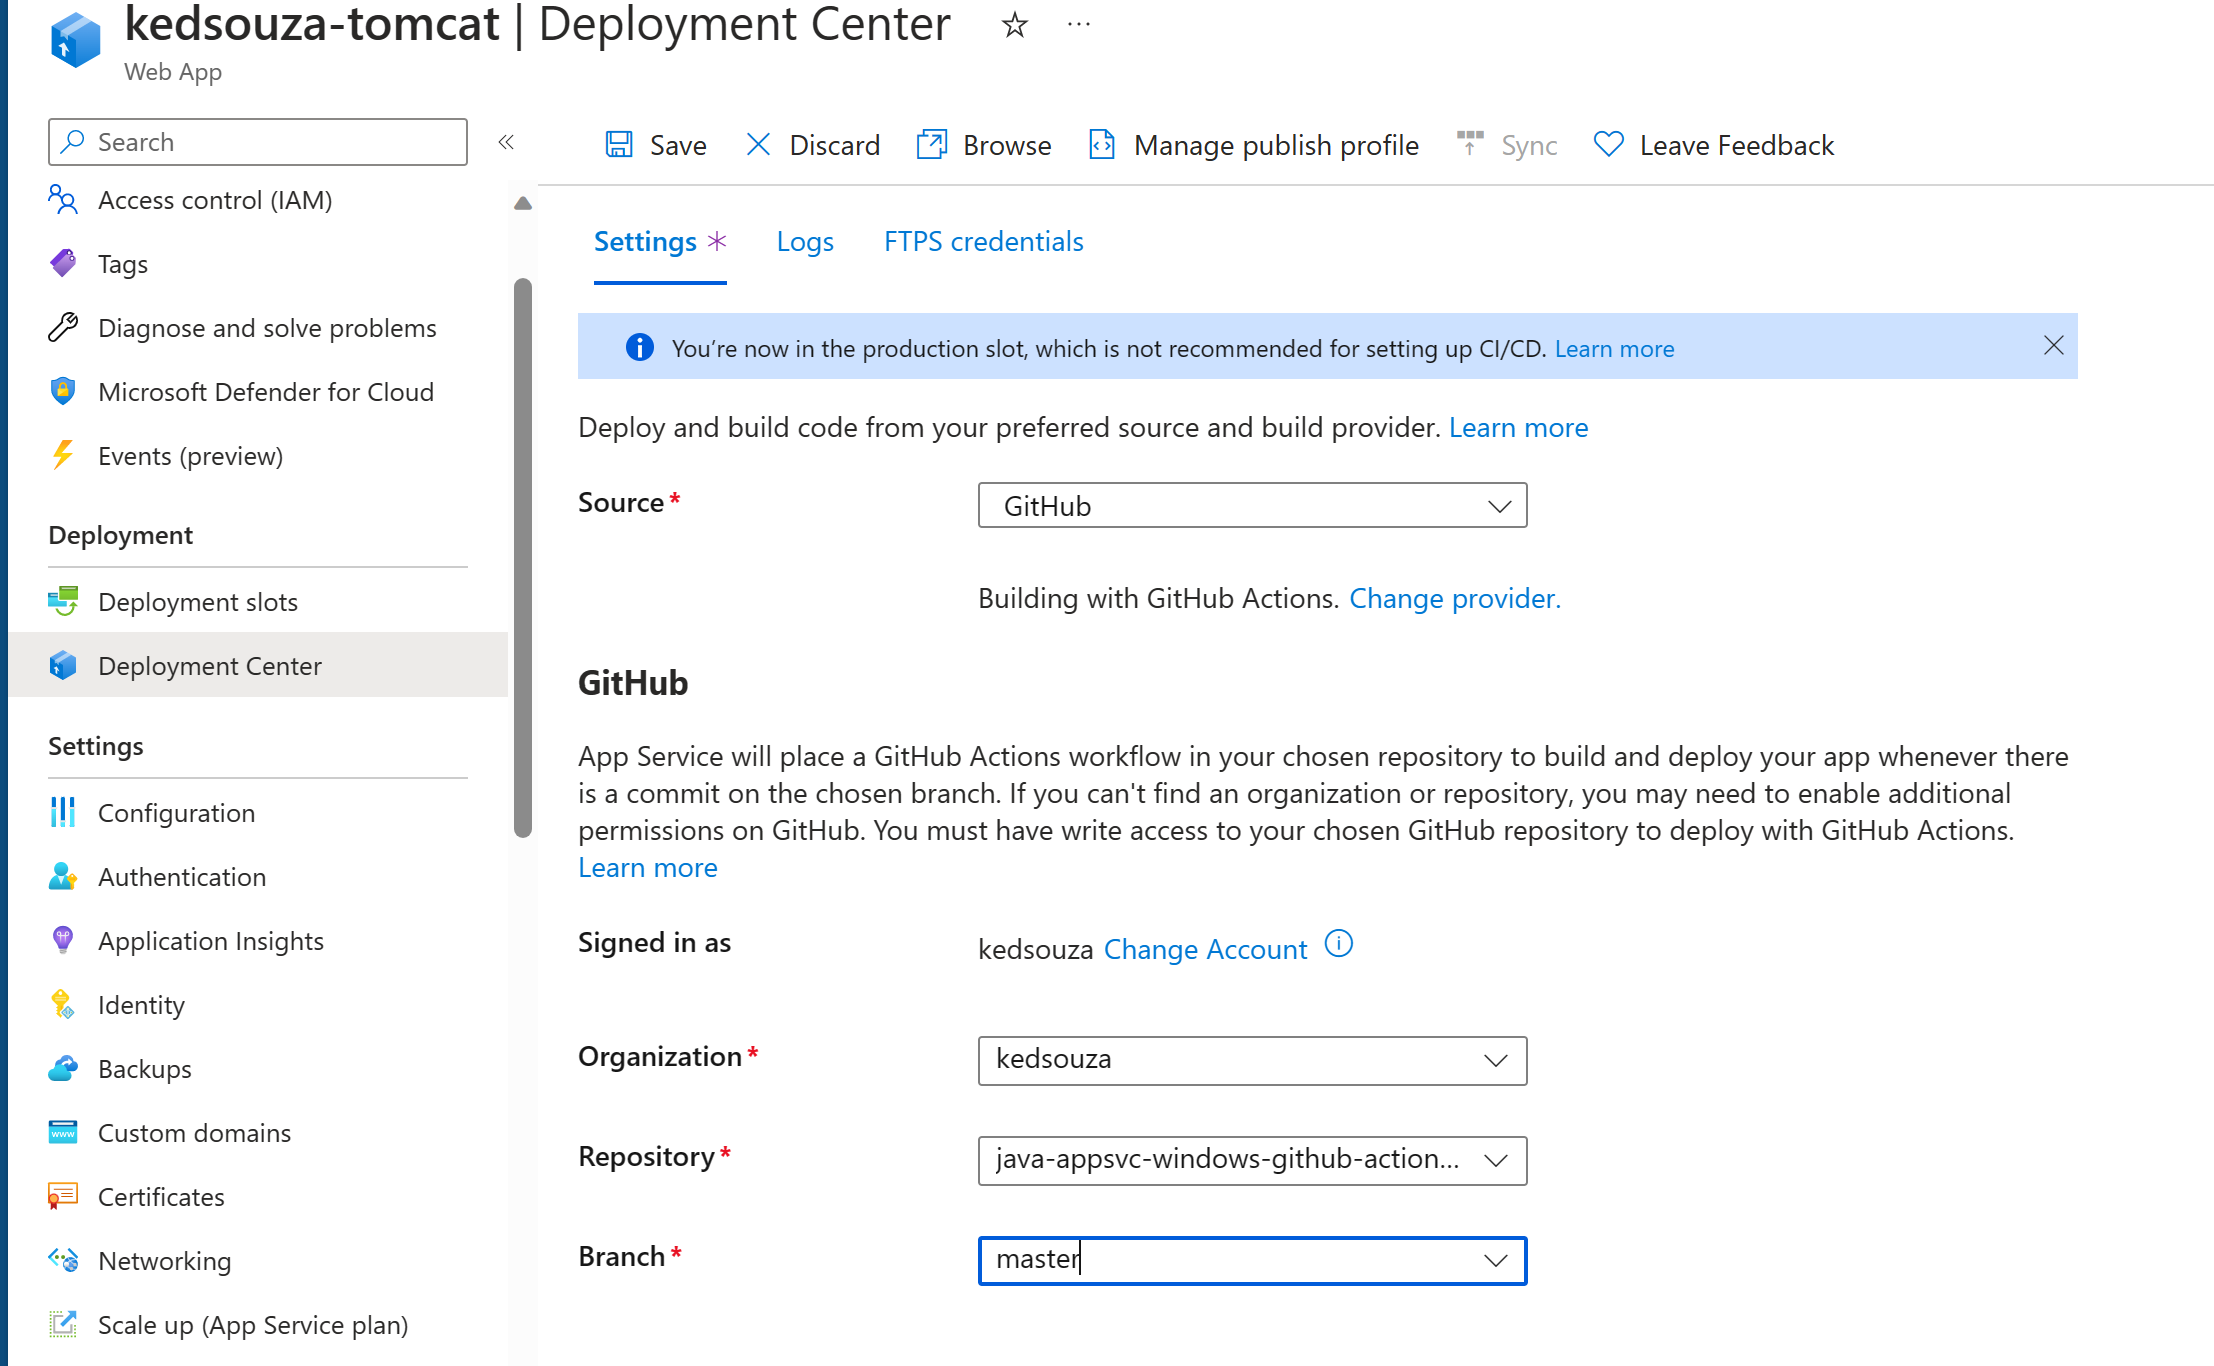
This will automatically create a workflow file for you.
-
If you would like your tomcat application to listen on the ‘/’ endpoint of your app service. Your .war file will have to be named ROOT.war.
By default the Github Actions pipeline will not do this. By default after deployment your application the file system as shown from the Kudu (Advanced Tools) Site will look similar to below.
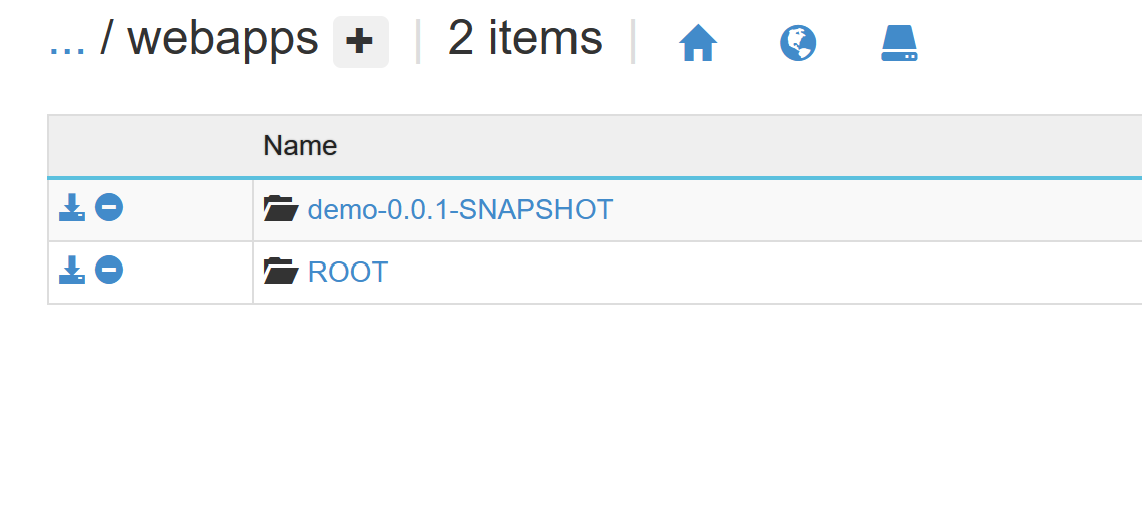
And you will only be able to access your project with the following url scheme. https://{your-app-service-name}/{war name}
-
Modify your github-actions.yml file to include the following command to rename the file. This will be under the Deploy Stage.
 deploy:
     runs-on: windows-latest
     needs: build
     environment:
         name: 'Production'
         url: $

     steps:
         - name: Download artifact from build job
             uses: actions/download-artifact@v2
             with:
             name: java-app

         # ---- Added Task ---- #
         - name: Rename .War file
             run: move *.war ROOT.war

         - name: Deploy to Azure Web
             id: deploy-to-webapp
             uses: azure/webapps-deploy@v2
             with:
             app-name: 'kedsouza-tomcat'
             slot-name: 'Production'
             publish-profile: $
             package: '*.war'
This command will rename your .war file to ROOT.war.
-
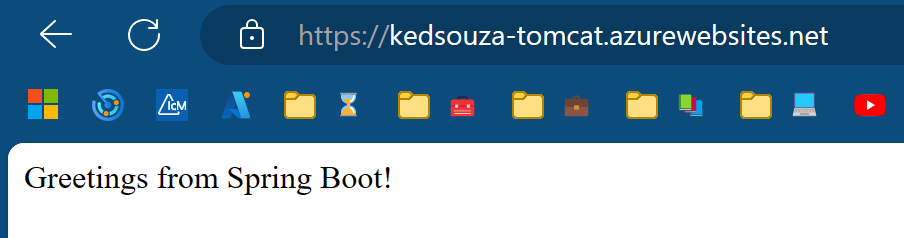
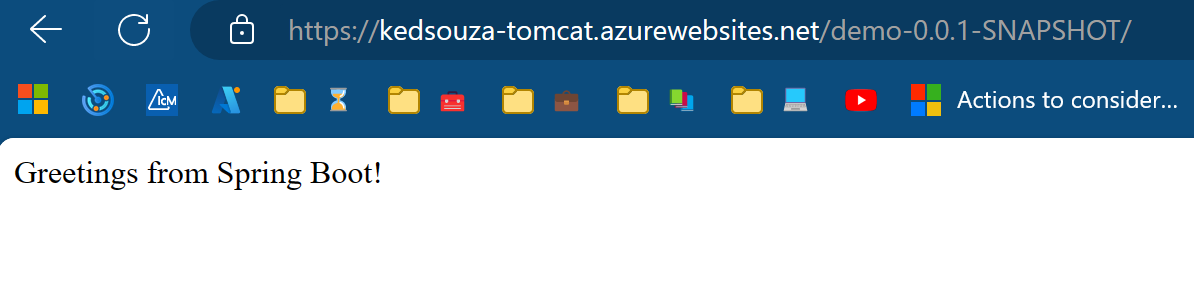
After you save your changes, and the github action redeploys you should now see your application responding on the ‘/’ endpoint.