Installing PHP Package on Azure Website Using PEAR Package Manager
1. Download go-pear.phar for Windows from https://pear.php.net/manual/en/installation.getting.php
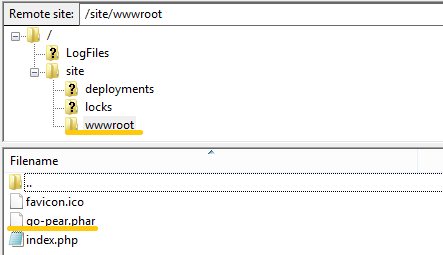
2. Copy “go-pear.phar” file to website root (/site/wwwroot)
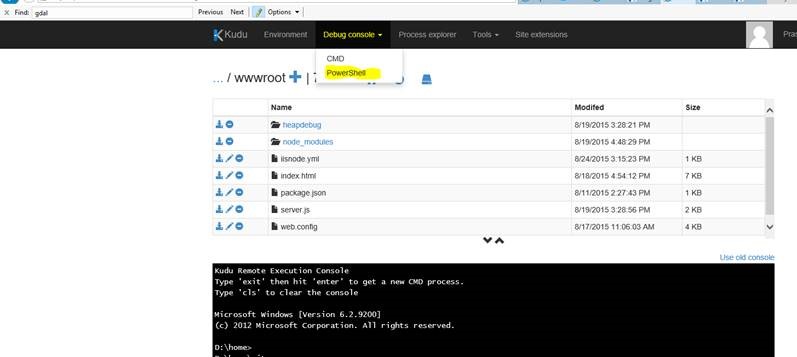
3. Run “php go-pear.phar” at website root.
Navigate to Kudu console ([https://
Select “local” to install a local copy, confirm your selection
You may see some warning message, and ask you to alter php.ini file, enter “n” for not altering php.ini
You should see “Thanks for using go-pears!” message at the end of installation.
4. Use “pear list” command to check if the package(s) you need is installed.
Run “pear install
Installation option “-a” (–alldeps) will install all required and optional dependencies, for example,
Mail package has dependency with Auth_SASL, Net_SMTP,
“pear install -a Mail” will help you solve the dependencies, so that you do not need to install them separately.
Note: To make “pear install” use current pear.ini, add -c option, eg. “pear -c D:\home\site\wwwroot\pear.ini install -a Mail”
You can use installation option “-f” (–force) to overwrite newer installed packages, use it when needed.
Check your packages with the command “pear list” again after installation to make sure they are installed properly.
All installed packages are located under “/wwwroot/pear”, you can find them from there.
5. In the case you use default PHP runtime environment on Azure, you cannot modify php.ini to include pear path,
you will need to do this in .user.ini, add following line in your .user.ini:
include_path=”.;D:\home\site\wwwroot\pear”
6. When use the package in your php code, you should give the partial path name as well, for example:
require_once “pear/Mail.php”;
Note: To use composer, refer to http://blogs.msdn.com/b/azureossds/archive/2015/04/02/setting-up-email-client-in-wediamiki.aspx


