Migrate WordPress content to Azure blob storage
Azure storage provides solution for applications requiring scalable, durable, and highly available storage for their data. In this blog, we cover the steps how to migrate existing WordPress content from file system to Azure blob storage.
-
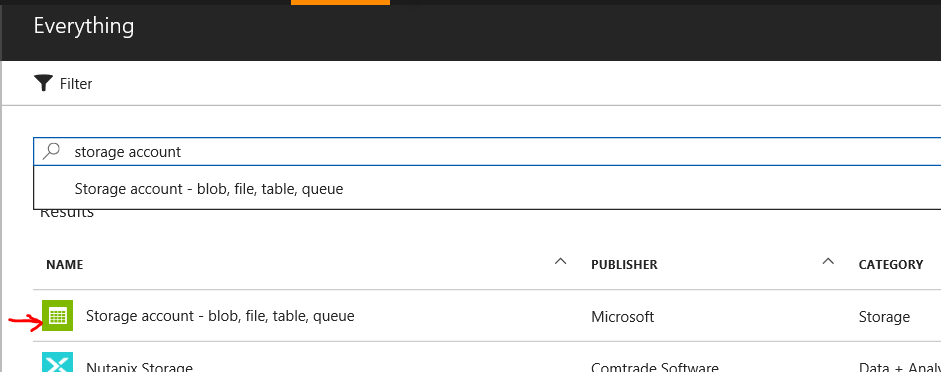
Create storage blob Create an Azure storage account

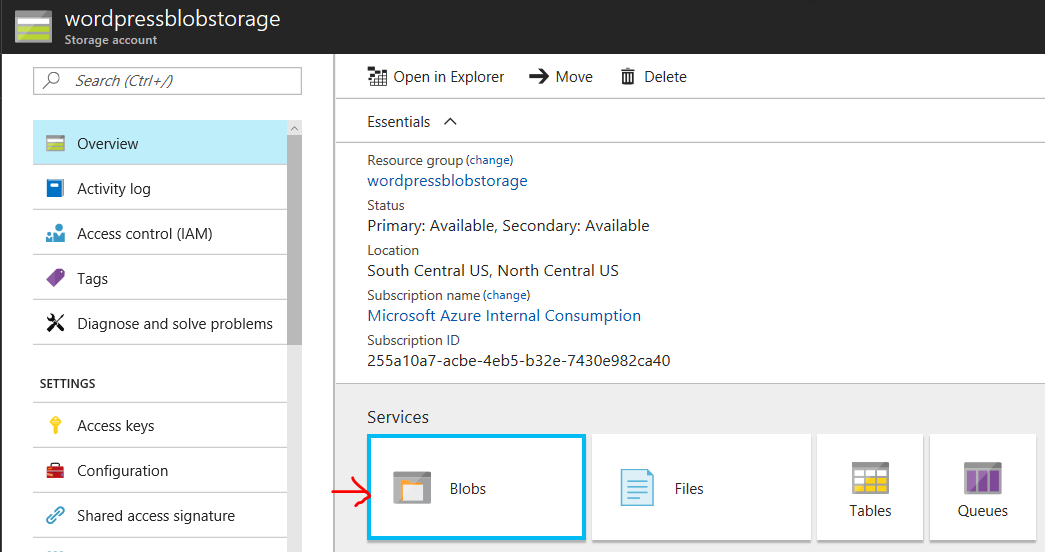
Create blob storage
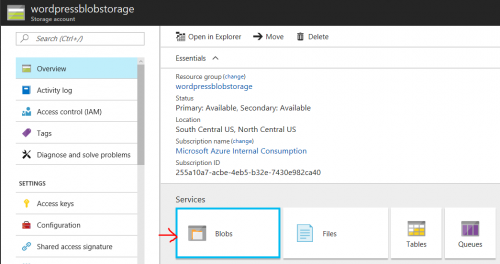
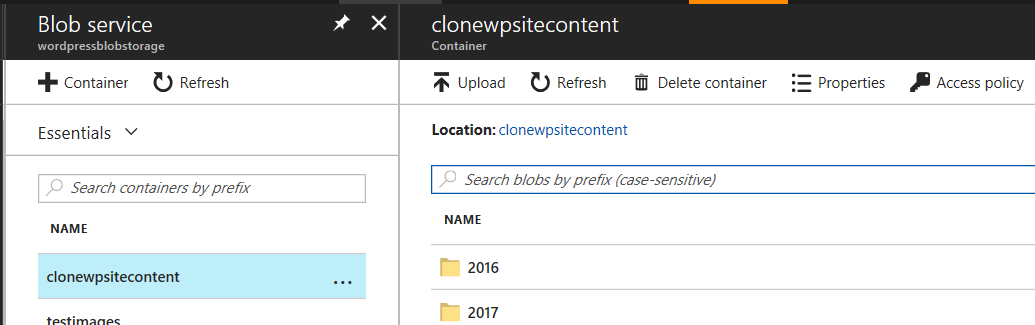
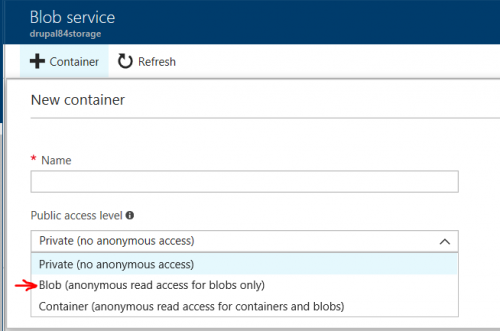
Create a blob container to store the images
-
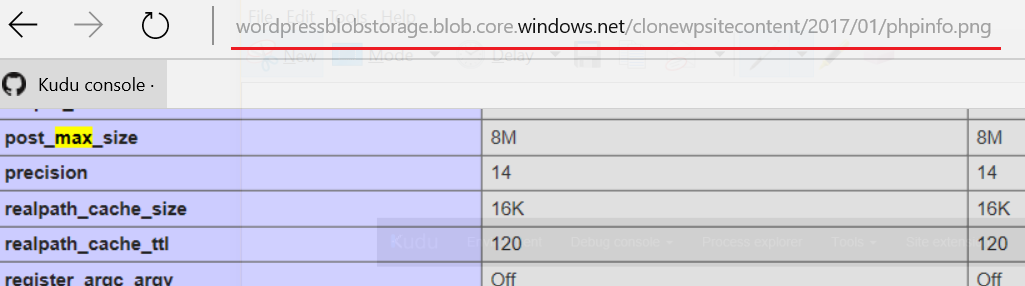
Install “Windows Azure Storage for WordPress” plugin from https://wordpress.org/plugins/windows-azure-storage/ Once this plugin is installed, test to upload a image to Azure blob storage, you can detect the file path, and follow the same path structure when moving existing content files to blob storage. The path will be like this,

-
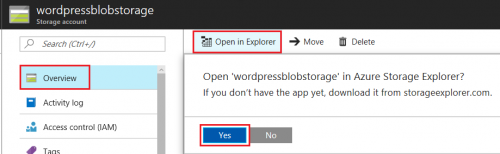
Upload wp-content to Azure storage To upload files to Blob storage, you can launch storage explorer from Azure portal,
 Azcopy is command line tool to download/upload files to Blob storage, to upload files,
AzCopy /Source:C:\\myfolder /Dest:https://myaccount.blob.core.windows.net/mycontainer /DestKey:key /S(Specifying option /S uploads the contents of the specified directory to Blob storage recursively, meaning that all subfolders and their files will be uploaded as well.)
Refer to the document https://docs.microsoft.com/en-us/azure/storage/storage-use-azcopy
-
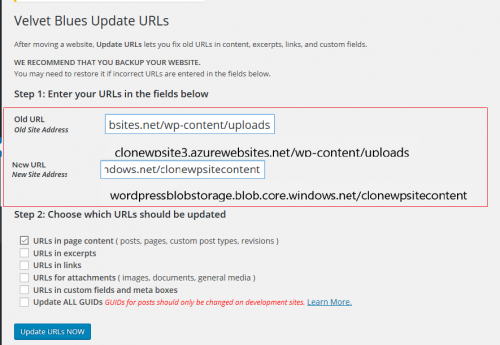
Modify WordPress content URLs, point to the content in azure storage There are few ways to update content links. For example, use “Velvet Blues Update URLs” plugin in this blog, https://wordpress.org/plugins/velvet-blues-update-urls/ File path on file system is <site-url>/media (the old URL) From “Velvet Blues Update URLs” plugin, replace it by <storage-url>/<container-name> (the new URL) E.g.
-
Test from from web app - Find an image from an article, the URL is pointing to blog storage now