WordPress Best Practices for Performance
WordPress Performance Best Practices on Azure App Services (Windows/Linux)
WordPress on App Service
It is recommended to utilize the Azure App Service WordPress offering within the Azure Marketplace. More information on how to create this resource can be found here:
Quickstart: Create a WordPress site - Azure App Service
This offering follows the below best practices and is recommended for optimal performance with Azure App Service.
Best Practices
When it comes to Performance, there are a few Best Practices recommended when using Azure App Services.
Note: Some options are not compatilable with each other. This is a general guide for improving WordPress performance on Azure App Services.
- Ensure App Service and Database are in the same datacenter.
- Optimize Database
- Compress Images
- Store media and static files in Azure Blob Storage.
- Compress Images using a plugin
- Use WordPress Caching
- WP Supper Cache
- W3 Total Cache
- Use Azure CDN
- Turn off Pingback and Trackbacks
- Cache pages.
- Diagnose Theme and Plugin issues.
- Disable wp-cron.php
Optimizing Database
When it comes to DB optimization, there are many different plugins out there that can do what is needed. DB optimization is needed to help keep your WordPress database clean from any unneeded entries or orphaned objects. We will be using the following: WP-Optimize
- Login to your WordPress Admin Dashboard
- Go to: Plugins > Add New
- Search for WP-Optimize
- Click Install Now, then Activate.
Once installed and activated, you will have a new entry in the panel menu. Navigate to WP-Optimize > Database.
NOTE: It is always recommended to backup your database before optimizing or making changes to your database.
Here you will have many different options to help optimize your database.
For basic optimization, you can leave the default selected options checked and hit Run all selected optimizations. Otherwise, you can pick and choose for the list available.
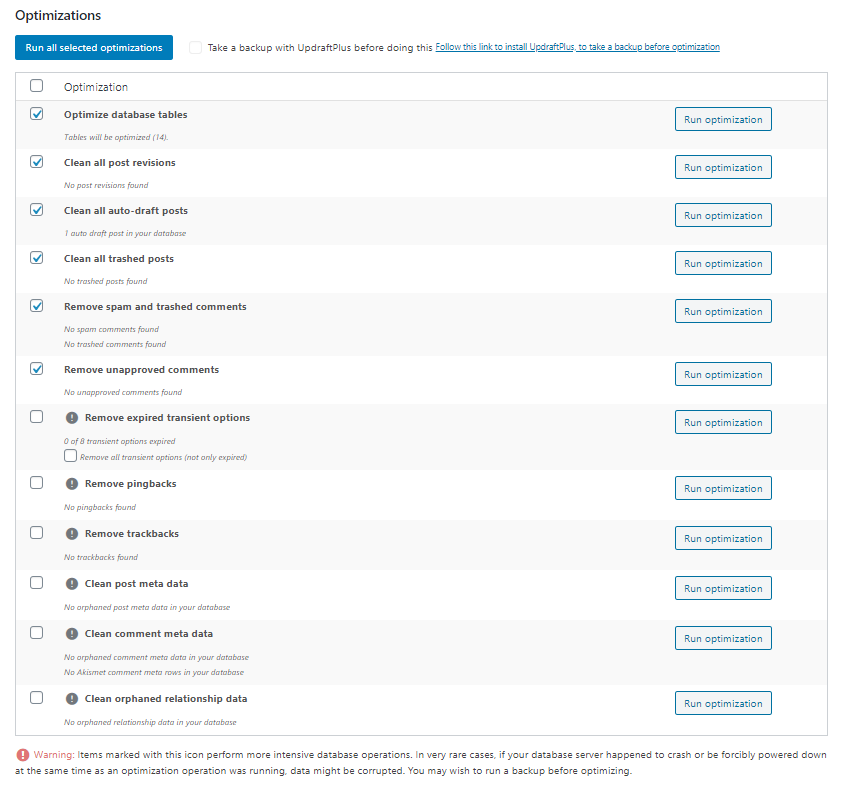
These optimizations are helpful to keep your database in good shape and not expand with unneeded data.
Compressing Images
Compressing images has become an important part of WordPress in recent years. With high definition and ultra high definition, images are getting larger in size and not web optimized. This is why compressing images on WordPress is important to keep your site at a reasonable load time.
There are many different plugins or all in plugins that can do various things; however, we will be using the following: Smush
- Login to your WordPress Admin Dashboard
- Go to: Plugins > Add New
- Search for Smush
- Click Install Now, then Activate.
Once installed and activated, you will have a new entry in the panel menu. Navigate to Smush > Dashboard.
If this is the first time using this plugin, you will need to go through a setup process for this.
It is recommended to Automatically optimize new uploads, Strip my image metadata, and Enable Lazy Loading.
This will allow for any new images added to your site to be compressed. You can also compress individual files if needed by going into your Media > Library.
Select your image and on the right hand side you will have compression options:
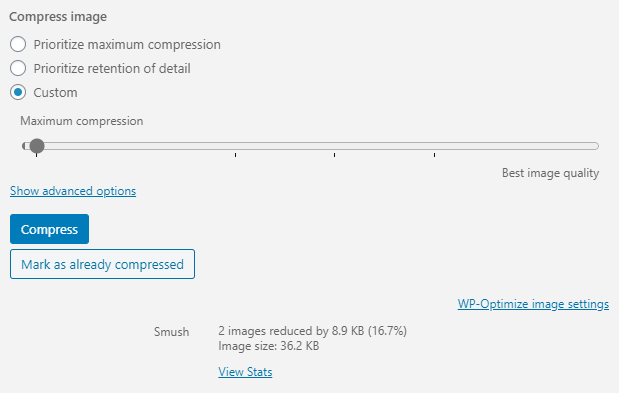
Set your options and select Compress.
This will help keep your images optimized for the web and help improve site loading.
Using Azure Blob Storage
Azure Storage can be used in WordPress to store your uploads and media. This will help offload content from your App Service for static content like image.
The plugin being used here is: Microsoft Azure Storage for WordPress
- Login to your WordPress Admin Dashboard
- Go to: Plugins > Add New
- Search for Azure Storage
- Click Install Now, then Activate.
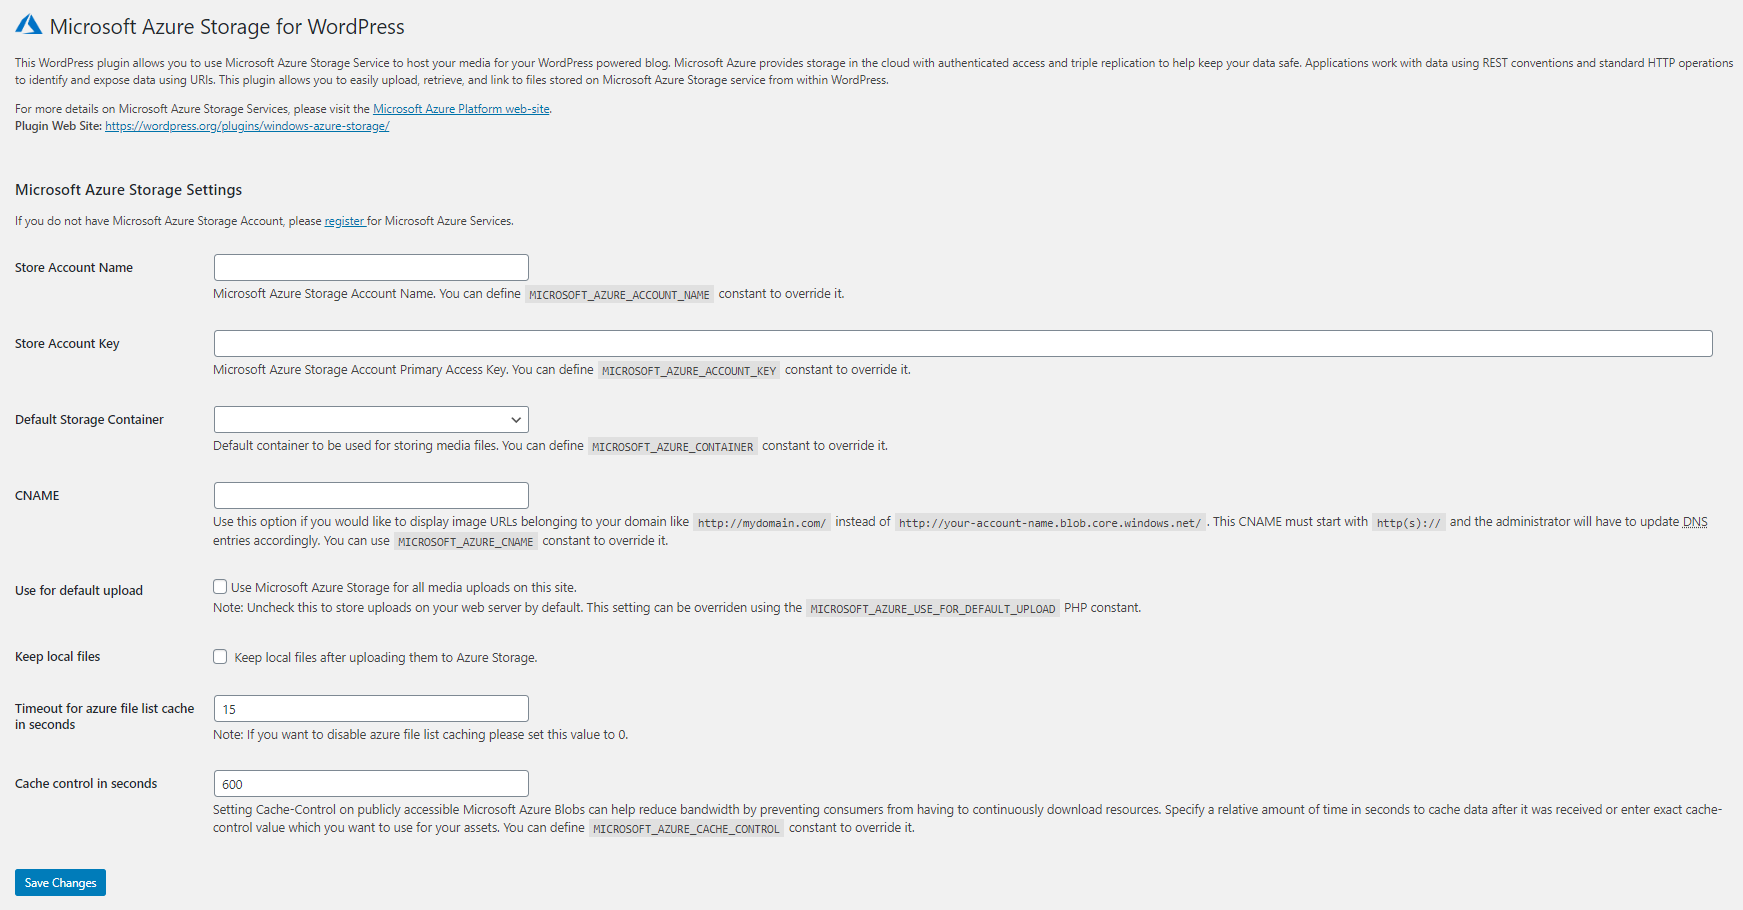
Once installed and activated, you will need to navigate to Settings > Microsoft Azure to update settings.
You will need to provide the following settings for your Azure Storage Container:
- Store Account Name
- Store Account Key
Set your Store Account Name (Storage Account Name) and your Store Account Key (Storage Account Access Key). Then click Save Changes.
This will sync the plugin and show any available containers to select from. If you have a container already created, select it now. If not, create a new blob container. Info on how to do this can be found here: https://docs.microsoft.com/en-us/azure/storage/blobs/storage-quickstart-blobs-portal#create-a-container.
Be sure to also select Use Microsoft Azure Storage for all media uploads on this site. This will ensure that your media is uploaded to the Azure Storage account.
If you are adding this to an exisiting site, you may need to manually upload your content as this is intended for new content.
You can test this by going into Media > Library and uploading a new image.
Enabling WordPress Caching
PHP is a server side scripting language, therefore that Time To First Byte is typically WordPress gathering all the data so PHP can compile a HTML page to respond with. This is why it is always recommended to enable some sort of WordPress caching as it keeps these compiled HTML pages in a store to serve for later.
There are many different options for caching. We will go over two well known options.
WP Super Cache
- Login to your WordPress Admin Dashboard
- Go to: Plugins > Add New
- Search for WP Super Cache
- Click Install Now, then Activate.
Once installed and activated, you will need to navigate to Settings > WP Super Cache to update settings.
Navigate to the Advanced section of the settings. This is where you will enable various options for WP Super Cache.
Starting out, enable all Recommended settings. These settings will need some optimization for your WordPress needs, so they will be different for everyone.
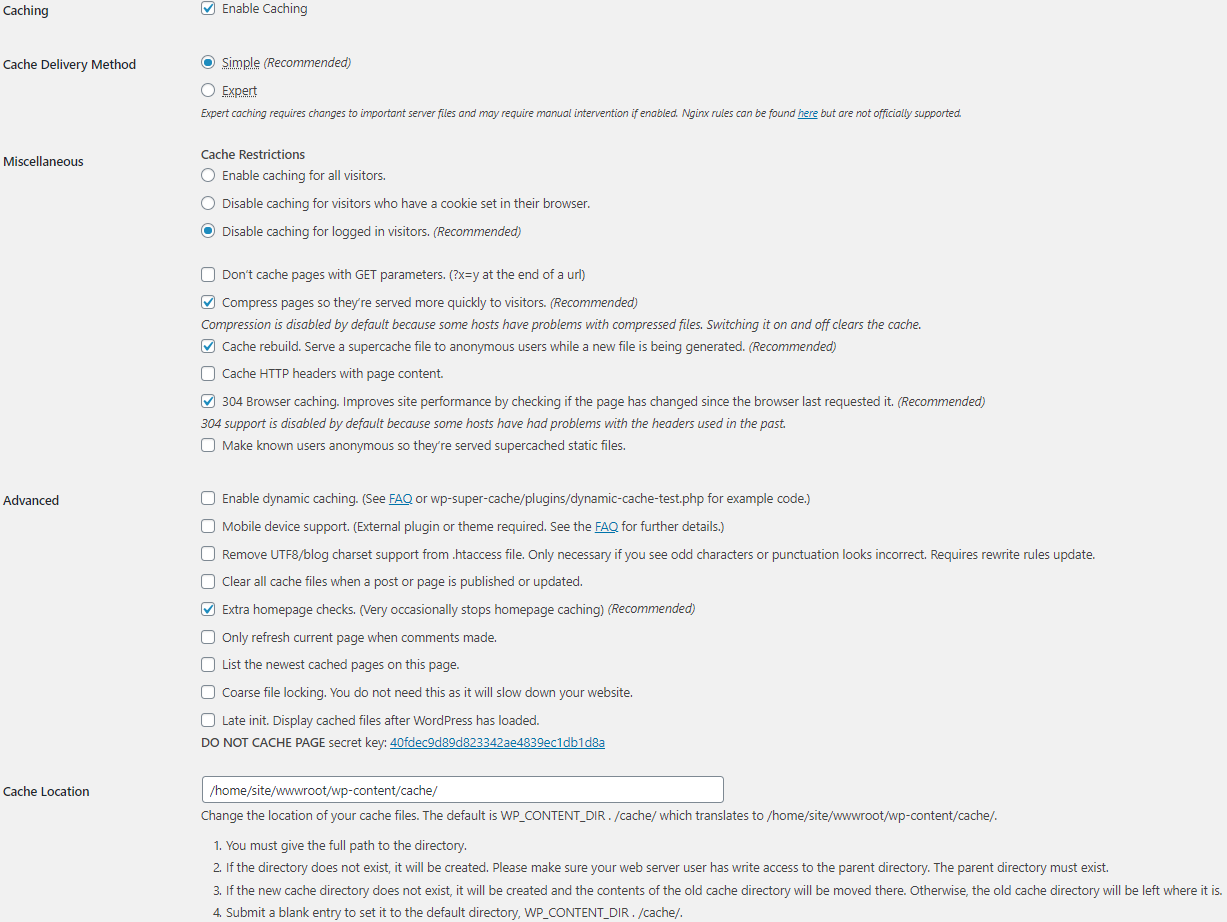
Click Update Status to save your changes.
W3 Total Cache
- Login to your WordPress Admin Dashboard
- Go to: Plugins > Add New
- Search for W3 Total Cache
- Click Install Now, then Activate.
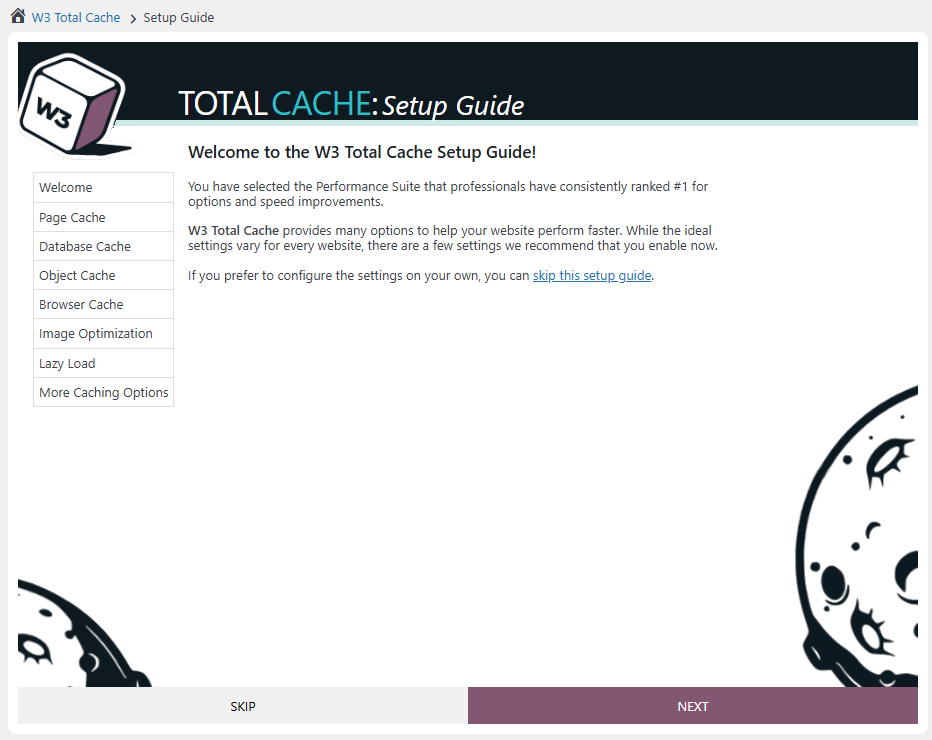
Once installed and activated, you will need to navigate to Performance > Dashboard.
If this is a first time setup, you will be prompted to go through a Setup Guide. Select the options that provide best performance during this test.
W3 Total Cache allows you to utilize other services in once single location: Azure Storage, Azure CDN, and Redis Cache.
Setting up CDN
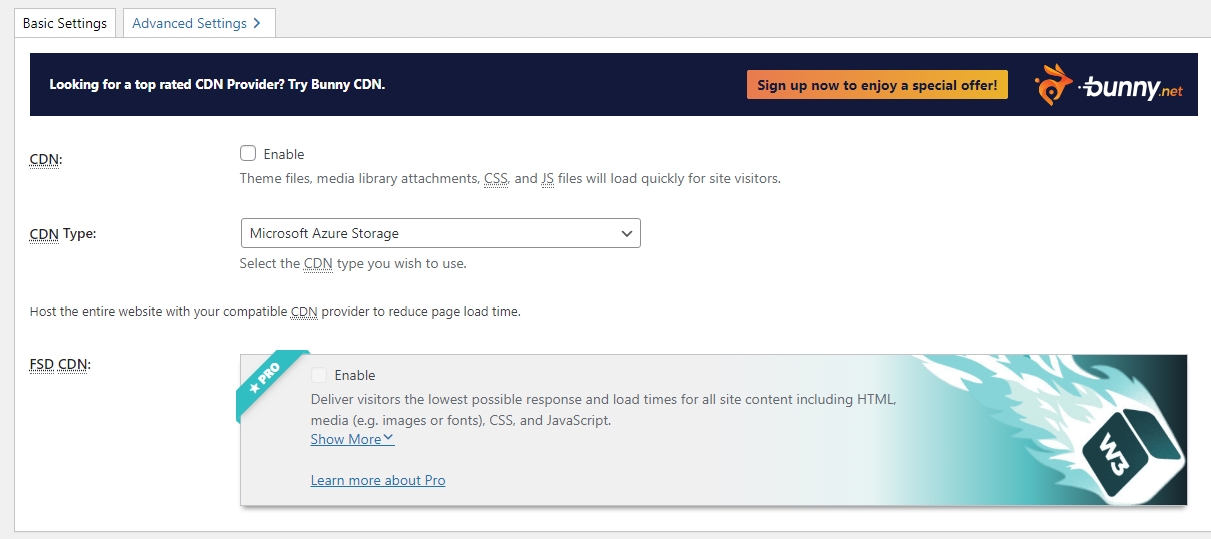
Navigate to Performance > General Settings and locate the CDN tab at the top to access W3 Total Cache’s CDN settings.
For CDN Type select Microsoft Azure Storage, and Enable the CDN feature. Then select, Save Settings to save this option.
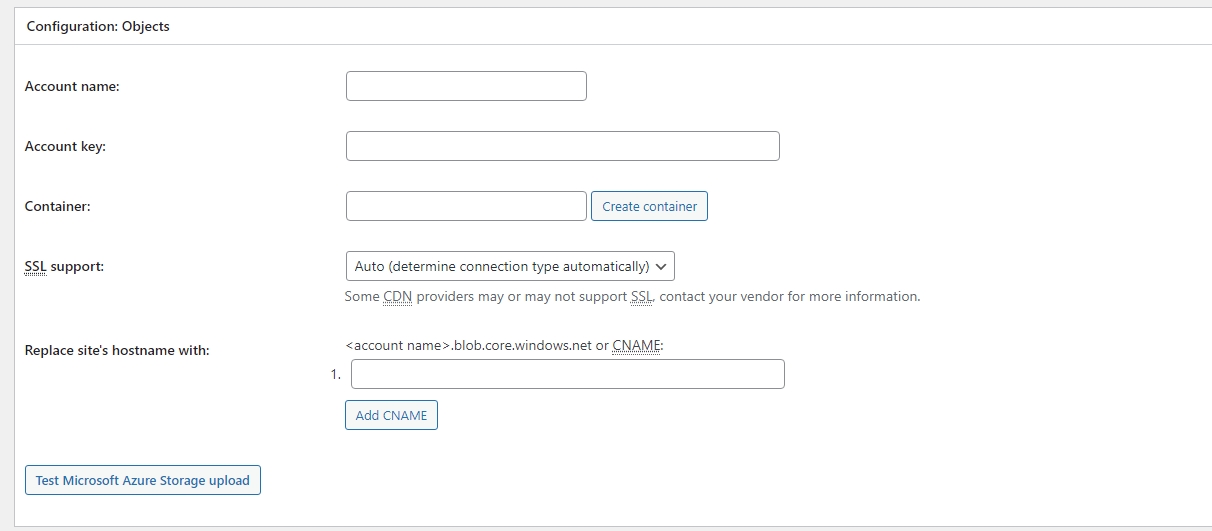
Navigate to Performance > CDN to configure Azure Storage credentials.
Here you will provide the following information for your Azure Storage account.
- Account Name
- Account Key
- Container Name
Using Azure CDN
Using a CDN like Azure CDN will help you offload static content like .js and .css files. This will allow for faster loading of these files as they will be served by a CDN somewhere closer to the client making the requests.
To enable this, we will be using the same plugin used for WordPress Caching: WP Super Cache
Navigate to Settings > WP Super Cache. Click on the CDN section of the settings.
Here we will populate our CDN settings from Azure CDN. If you do not have an Azure CDN, you can follow these steps to create one: https://docs.microsoft.com/en-us/azure/cdn/cdn-create-new-endpoint.
NOTE: Keep in mind that it may take some minutes to refresh your CDN content depending on your region.
You will need your Azure CDN endpoint.
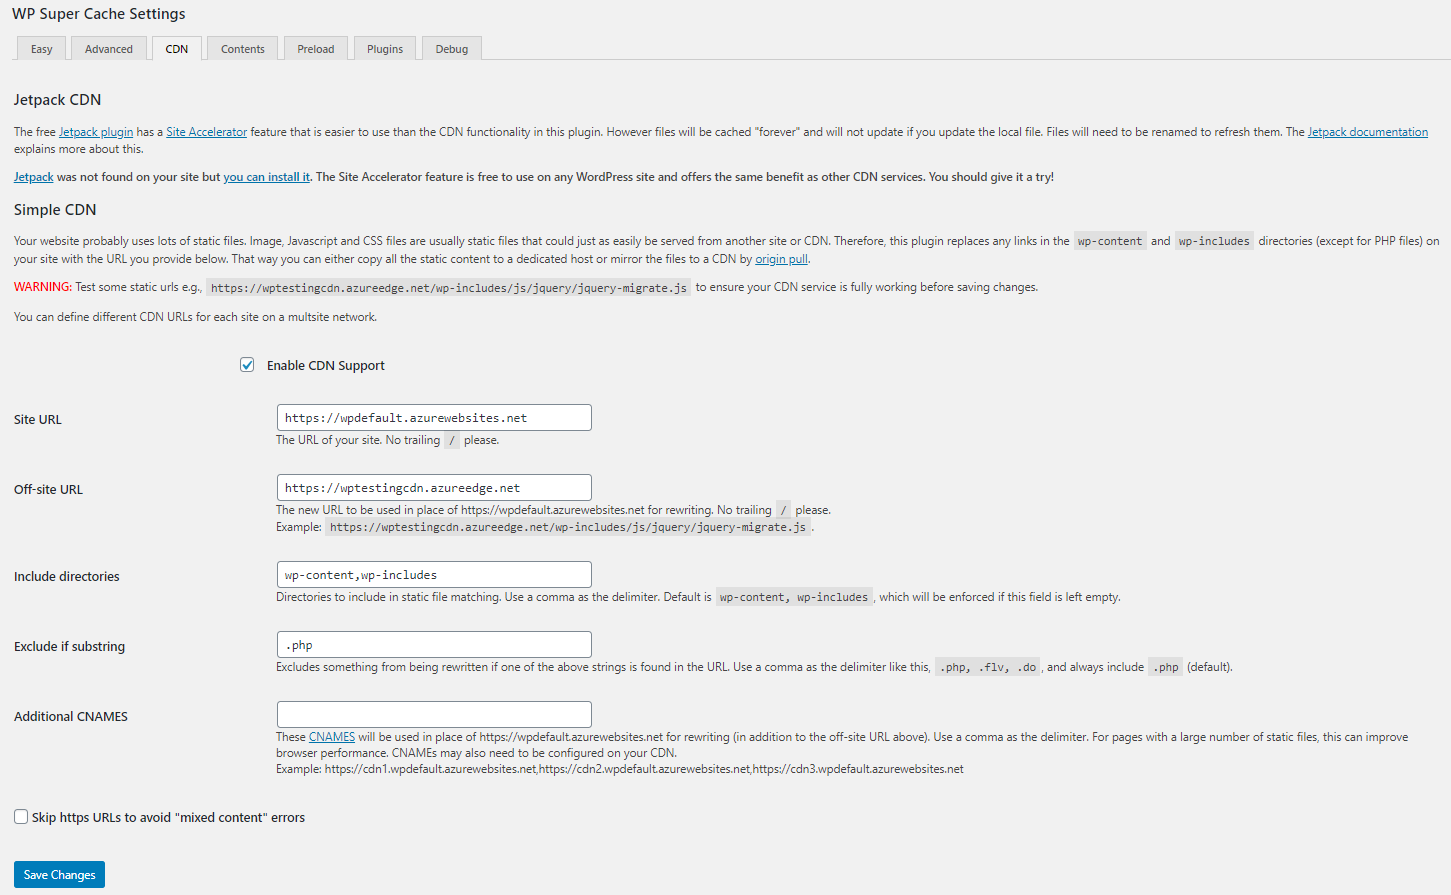
Click Enable CDN Support and provide your Off-site URL, then click Save Changes.
This will enable CDN and offload your content. You can leave the options to their default values.
Browse to your site after clearing your WordPress cache to view the changes.
Enabling Redis Cache
Redis Cache allows for additional caching for your WordPress site. While most caching options help after the PHP has compiled the static page, Redis cache helps by caching database calls to help reduce the load against your MySQL database. This allows for faster DB querying of WordPress and thus a faster PHP compile for a static page to be served.
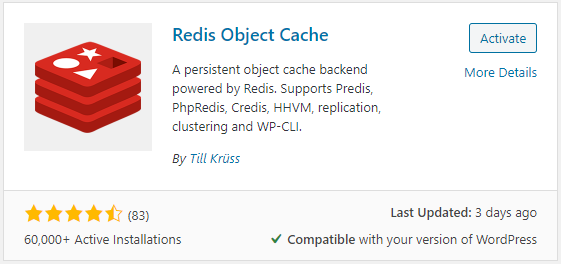
If you used the WordPress or WordPress on Linux marketplace items on the Azure Portal, then you should have the needed plugin installed. If not, we are using the following: Redis Object Cache
- Login to your WordPress Admin Dashboard
- Go to: Plugins > Add New
- Search for Redis Object Cache
- Click Install Now, then Activate.
Once installed and activated, you will need to navigate to Settings > Redis to update settings.
By default, Redis Object Cache will connect to 127.0.0.1:6379 for Redis. We will need to modify the wp-config.php file to connect to Azure Cache for Redis.
If you do not have an Azure Cache for Redis, follow these steps to set one up: https://docs.microsoft.com/en-us/azure/azure-cache-for-redis/quickstart-create-redis.
Via SSH or FTP, open your wp-config.php and add the following defines:
define('WP_REDIS_HOST', getenv('REDIS_HOST'));
define('WP_REDIS_PASSWORD', getenv('REDIS_PASSWORD'));
Once these defines are added into your wp-config.php file, let’s navigate to the App Service in the Azure Portal. We will be setting App Settings for your values:
| NAME | VALUE |
|---|---|
| REDIS_HOST | yourRedisEndpoint.redis.cache.windows.net |
| REDIS_PASSWORD | yourAccessKey |
Using App Settings will better secure your Redis information as it will not be hardcoded inside your wp-config.php file.
Once we have the defines in wp-config.php and the App Settings, navigate to Settings > Redis. Then click on Enable Object Cache. You should get something like the following:
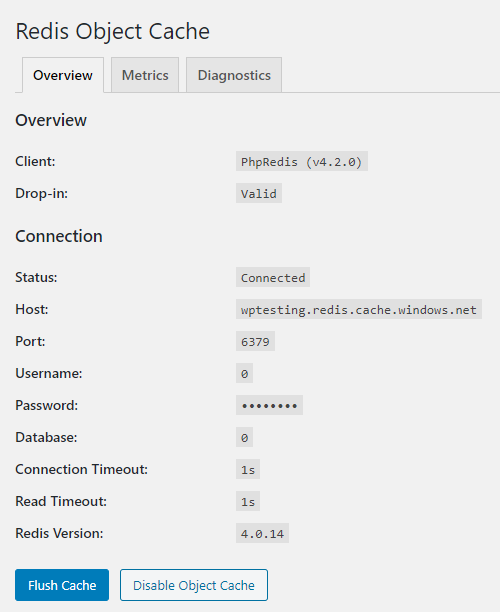
If you run into any issues, take a look at the Diagnostics tab for more logging info.
Turn off Pingback and Trackbacks
Pingbacks and trackbacks is used to notify other blogs that they have been linked to eachother. Today, this is mostly used by spammers to link to spam sites.
To start turning these features off, navigate to your WordPress Admin Dashboard.
Navigate to Settings > Discussion.
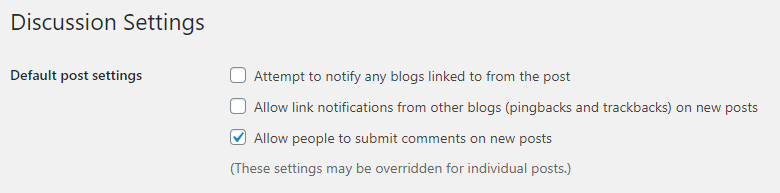
You are going to want to uncheck the following: Allow link notifications from other blogs (pingbacks and trackbacks) on new posts, then click Save Changes.
This however will only turn these off on new posts. You will need to go back and do a bulk change for all your exisiting pages.
Navigate to Posts > All Posts.
If your blog has many posts you may need to update your pagination settings. To do this select Screen Options, enter a high number like 999 in Number of items per page, then click Apply.
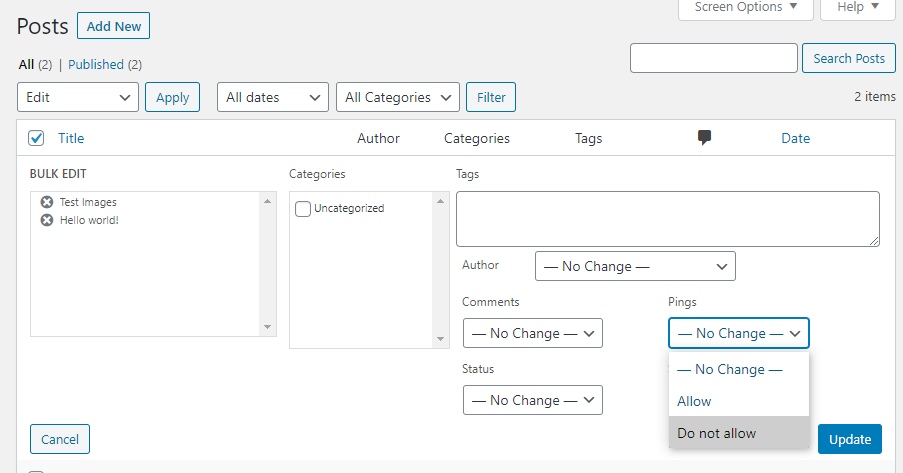
Once you have all your posts on one page, select all your posts and apply the Edit bulk action.
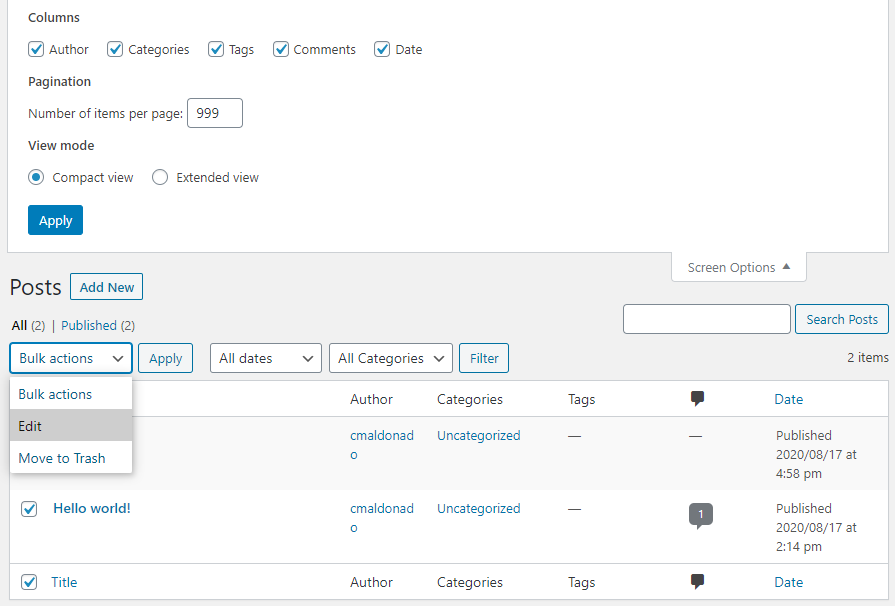
Here we are going to want to update the Pings setting to Do not allow. This will disable pingbacks and trackbacks from all your selected blog posts.
Once that is complete, all pingbacks and trackbacks should now be disabled.
Disable WP-Cron
By default, wp-cron.php is executed on every page load, which on high traffic sites this can cause performance issues.
You can however, disable this and run it on a schedule. Although this method requires for system cron to be configured, there are other tools that can be used to schedule an execution of wp-cron.php.
Use Azure Functions to run WordPress Cron
To disable wp-cron.php you will need to add the following in wp-config.php file.
define('DISABLE_WP_CRON', true);
Conclusion
With all these best practices or at least some of these, you will have a WordPress site running with improved performance.


