How to configure Let’s Encrypt Certificates for Nginx or Apache in Azure Linux Virtual Machines
There are several ways to configure Let’s encrypt for Nginx or Apache with different clients as python3-certbot-nginx. For this purpose, it is preferred to use the simple way (manual) to control better the configuration.
Prerequisites
- Azure Linux VM
- Web Server (Nginx or Apache):
- You can install Nginx with the following commands:
sudo apt-get update sudo apt-get install nginx -y - You can install Apache with the following commands:
  sudo apt-get update
  sudo apt-get install apache2 -y
- You can install Nginx with the following commands:
- Custom Domain mapped to Linux VM
Install Certbot in Ubuntu with snapd
Snaps can be created by anyone - existing software can be packaged as a snap or new software can be built from scratch using snap packaging. If you are using Ubuntu 18.04 or above, snap is already installed. For CentOS, package manager and commands will change, you will need to enable the EPEL release repository first and then install snapd.
Review how to install snapd for other Linux distros
-
Run the following command if you are not using Ubuntu 18.04 or above but Debian based distros:
sudo snap install core; sudo snap refresh core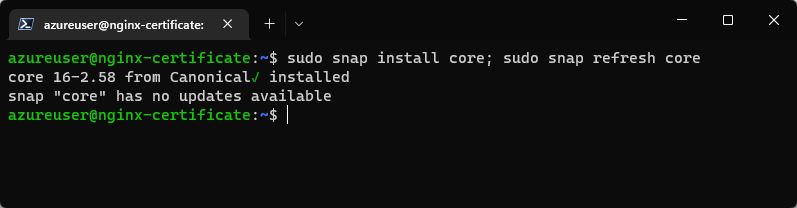
-
Then you need to install the Certbot with the following command:
sudo snap install --classic certbot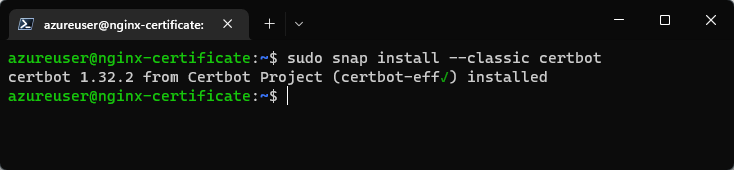
-
Prepare the Cerbot command with the following command:
sudo ln -s /snap/bin/certbot /usr/bin/certbot
Create a SSL Certificate with Certbot
-
Run the following command to create a certificate for Nginx or Apache with your custom domains:
-
Nginx:
sudo certbot --nginx -d yourcustomdomain.com -d www.yourcustomdomain.com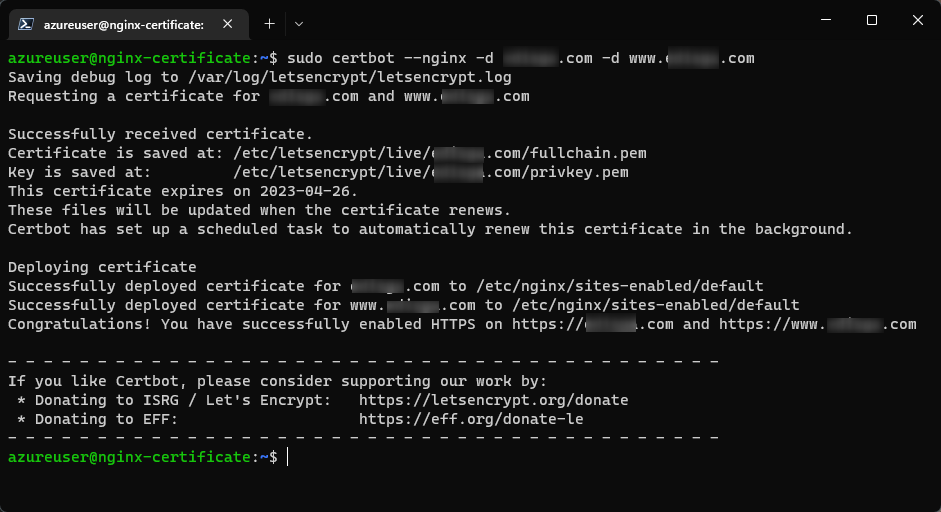
-
Apache:
sudo certbot --apache -d yourcustomdomain.com -d www.yourcustomdomain.com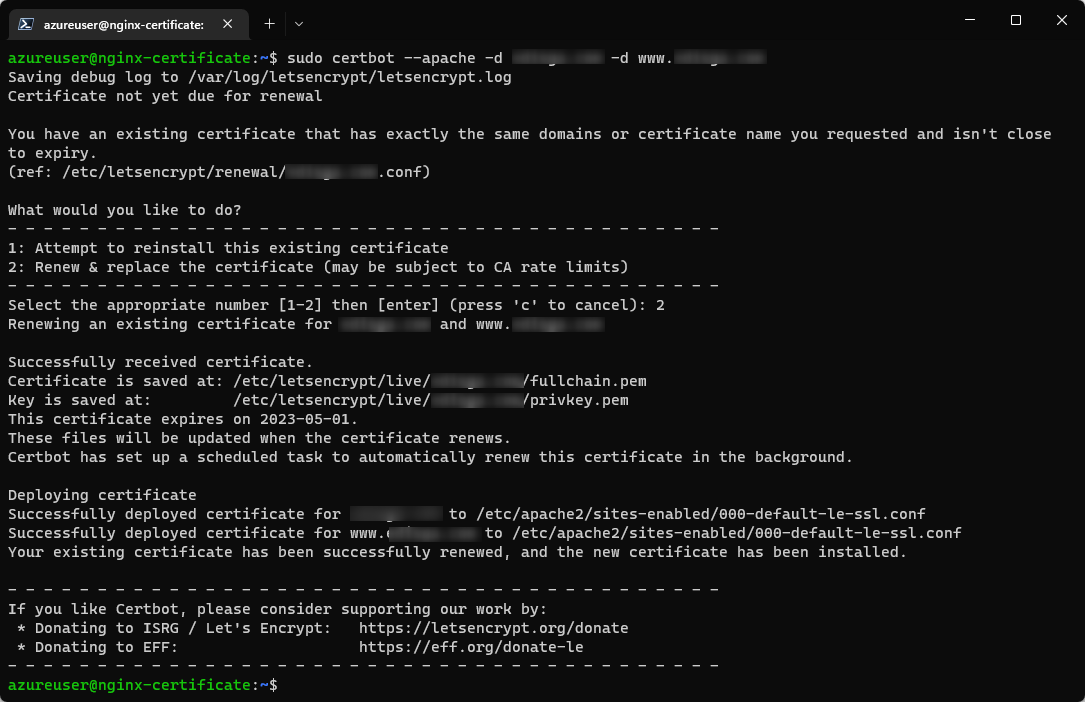
If there is not vhost with a servername or address of the custom domain configured before, it will prompt to configure and save it choosing between
000-default.confor000-default-le-ssl.conf. It is recommended to use the second option.
Follow all the steps to register your email, etc.
Note: If you are getting the following error:
 Certbot failed to authenticate some domains (authenticator: nginx/apache). The Certificate Authority reported these problems:
 Domain: yourcustomdomain.com
 Type:   connection
 Detail: 20.114.134.48: Fetching http://yourcustomdomain.com/.well-known/acme-challenge/hMoWrQMhREWLnZGxDNUAYK8jv_47zDgCo3KjnuPn1C0: Timeout during connect (likely firewall problem)

 Domain: www.yourcustomdomain.com
 Type:   dns
 Detail: DNS problem: NXDOMAIN looking up A for www.yourcustomdomain.com - check that a DNS record exists for this domain; DNS problem: NXDOMAIN looking up AAAA for www.yourcustomdomain.com - check that a DNS record exists for this domain

 Hint: The Certificate Authority failed to verify the temporary nginx configuration changes made by Certbot. Ensure the listed domains point to this nginx server and that it is accessible from the internet.

 Some challenges have failed.
Validate the following:
- The VM ip is configured in the DNS server correctly, you can use https://www.digwebinterface.com/ to validate the A record.
- The port 80 is opened in the NSG if using Azure Virtual Machine or Linux Firewall
-
-
After submiting the correct values for your server names, the certificates are saved in
/etc/letsencrypt/live/<custom_domain>as example:- Certificate is saved at:
/etc/letsencrypt/live/<custom_domain>/fullchain.pem - Key is saved at:
/etc/letsencrypt/live/<custom_domain>/privkey.pem
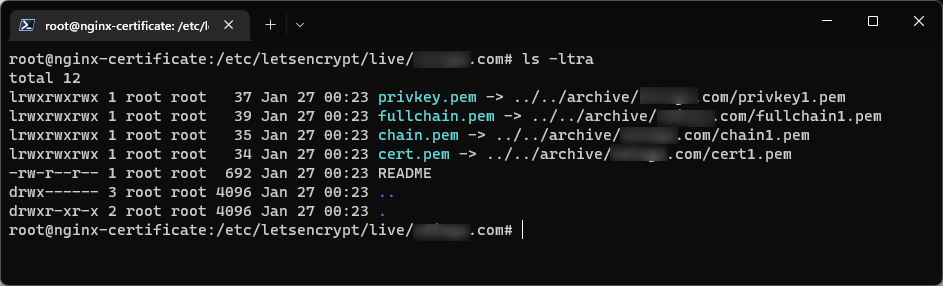
- Certificate is saved at:
Note:
- For Apache: It will automatically configured everything no need to set anything else.
- For Nginx: Try to use the fullchain instead of the cert.pem certificate since it contains the intermediate certificate and let clients validate the first certificate.
Configuring certificate for Nginx
-
Link these certificates to your Nginx configuration, usually the default configuration is under
/etc/nginx/sites-available/default -
To modify this configuration run the following command:
sudo nano /etc/nginx/sites-available/default -
Uncomment the ssl configuration part on the red part and add the RSA Certificate section:
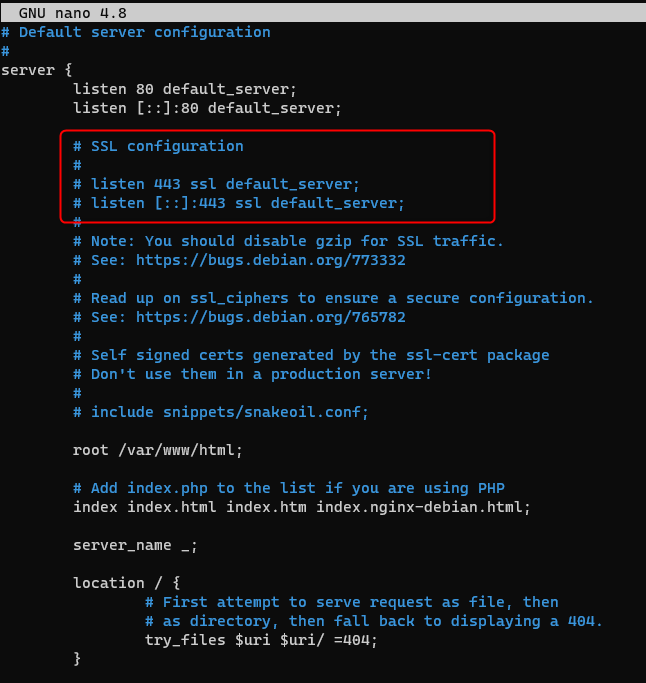
 # SSL configuration
 #
 listen 443 ssl default_server;
 listen [::]:443 ssl default_server;

 # RSA Certificate
 ssl_certificate /etc/letsencrypt/live/<custom_domain>/fullchain.pem;
 ssl_certificate_key /etc/letsencrypt/live/<custom_domain>/privkey.pem;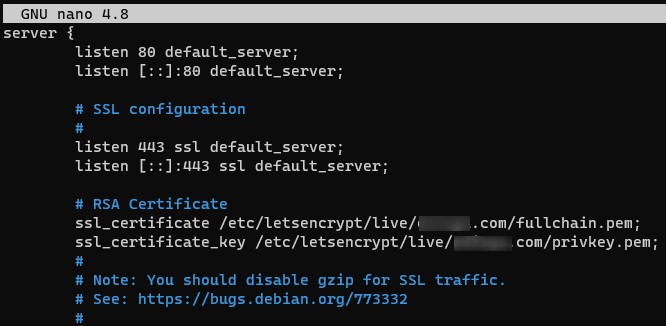
To save the file use
control+oand then pressEnterTo close the file usecontrol+x - Reload Nginx with:
sudo nginx -s reload - Check for any issue with:
sudo service nginx status - Make sure to open port 443 in NSG or Linux Firewall
-
If everything was setup correctly you can use
Chrome\Edge Developer Toolsand theSecurity tabto validate the status of the certificate as followed: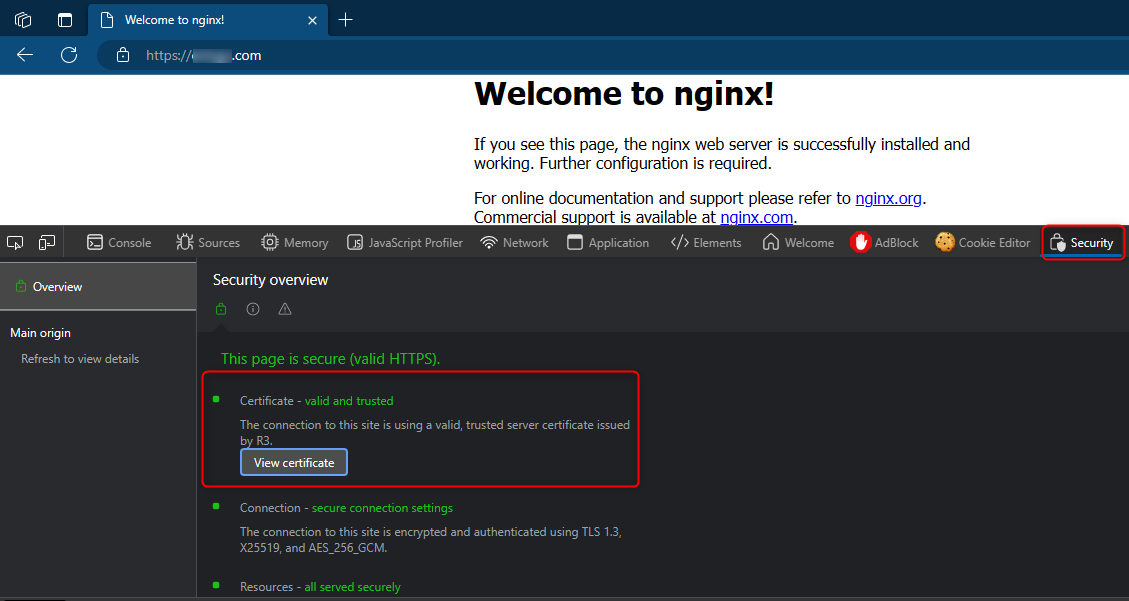
- Click on
View certificateand validate the all the Certification Path (cert, intermediate R3 and DST Root CA X3)
Configuring certificate for Apache
No further actions on this, certbot updates automatically for Apache. You can check current configuration in /etc/apache2/sites-enabled located in 000-default.conf or 000-default-le-ssl.conf as followed:
<IfModule mod_ssl.c>
    <VirtualHost *:443>
            # ...Other properties...
        ServerName yourcustomdomain.com
        Include /etc/letsencrypt/options-ssl-apache.conf
        ServerAlias www.yourcustomdomain.com
        SSLCertificateFile /etc/letsencrypt/live/yourcustomdomain.com/fullchain.pem
        SSLCertificateKeyFile /etc/letsencrypt/live/yourcustomdomain.com/privkey.pem
    </VirtualHost>
</IfModule>
- Restart Apache with:
sudo service apache2 restart - Check for any issue with:
sudo service apache2 status - Make sure to open port 443 in NSG or Linux Firewall
-
If everything was setup correctly you can use
Chrome\Edge Developer Toolsand theSecurity tabto validate the status of the certificate as followed: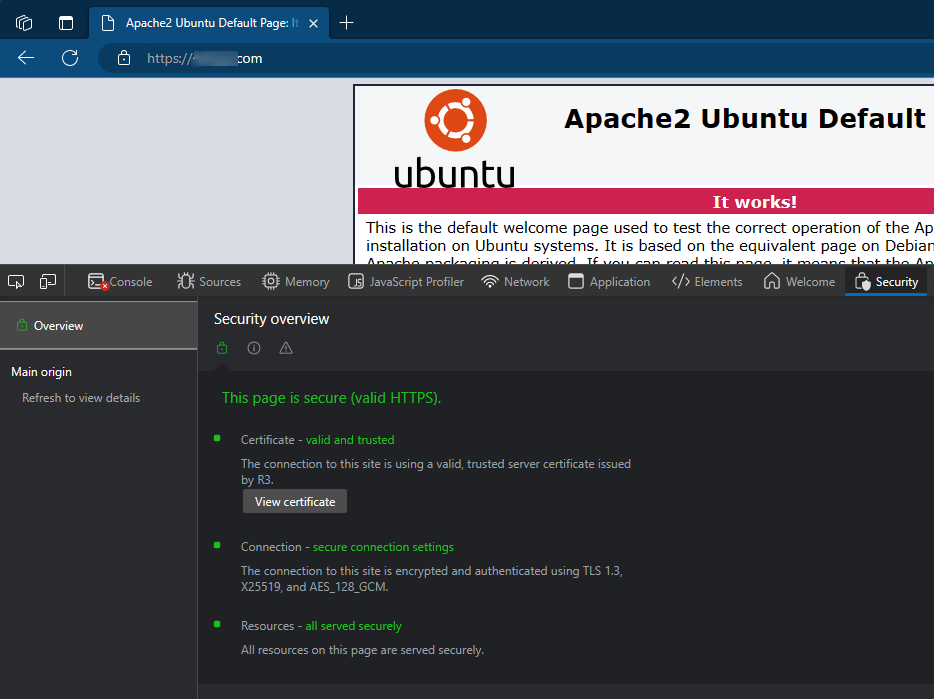
- Click on
View certificateand validate the all the Certification Path (cert, intermediate R3 and DST Root CA X3)


