How to add custom domain to Azure Spring Apps on Standard consumption & dedicated(preview) plan?
This article shows you steps of how to add custom domain to Azure Spring Apps hosting on Standard consumption & dedicated(preview) plan. For adding custom domain to Azure Spring Apps with a private certificate on Standard or Enterprise plan,please refer to documentation here.
Introduction
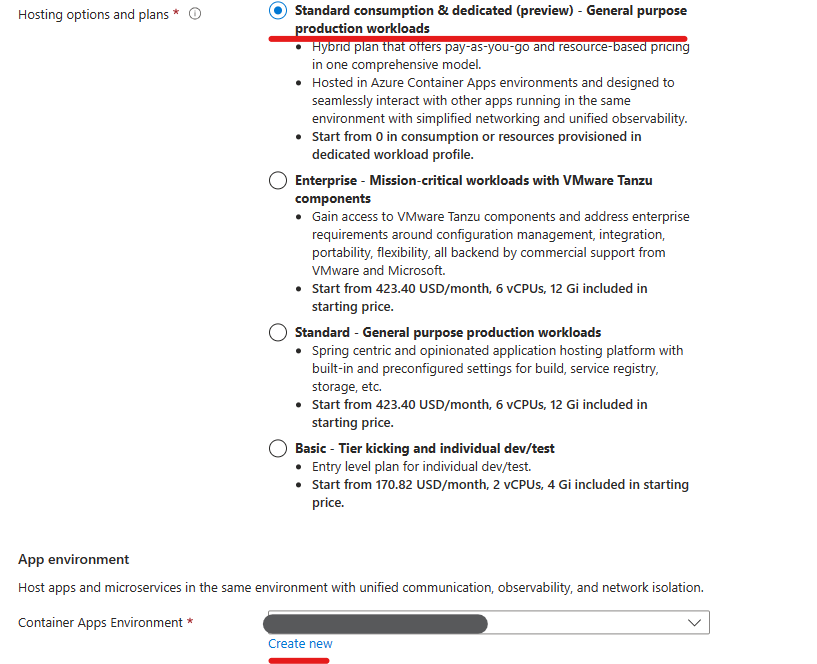
Azure Spring App has multiple hosting options and plans: Basic, Standard, Enterprise, and Standard consumption & dedicated(preview). Currently, Managed Certificate (Preview) feature is not supported in all Azure Spring Apps service plan yet. However, we still can add custom domain and certificate in Azure to the Spring Apps hosting on Standard consumption & dedicated(preview) plan.
Configuration steps
1. Create and deploy to Azure Spring Apps resource in Standard consumption and dedicated plan service plan.
Build and deploy apps to an Azure Spring Apps resource in Standard consumption and dedicated plan service plan. For more details, see Quickstart: Provision an Azure Spring Apps Standard consumption and dedicated plan service instance and Quickstart: Build and deploy apps to Azure Spring Apps.
2. Register a domain name and create a managed certificate
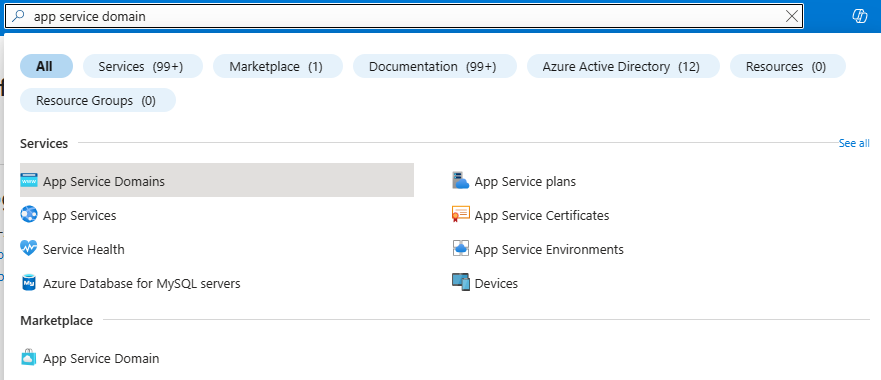
If you are using a custom domain and certification from third party, you can skip this step. As we may not be able to use the managed certificate for Azure Spring App on Standard consumption & dedicated(preview) plan currently, we would suggest creating App service domain, App Service certificate and configurate it before import to Azure Spring Apps.
a. Create an App Service domain referring to Custom domain - Azure App Service
b. Create an azure app service certificate and configurate it referring to Export an App Service certificate - Azure App Service
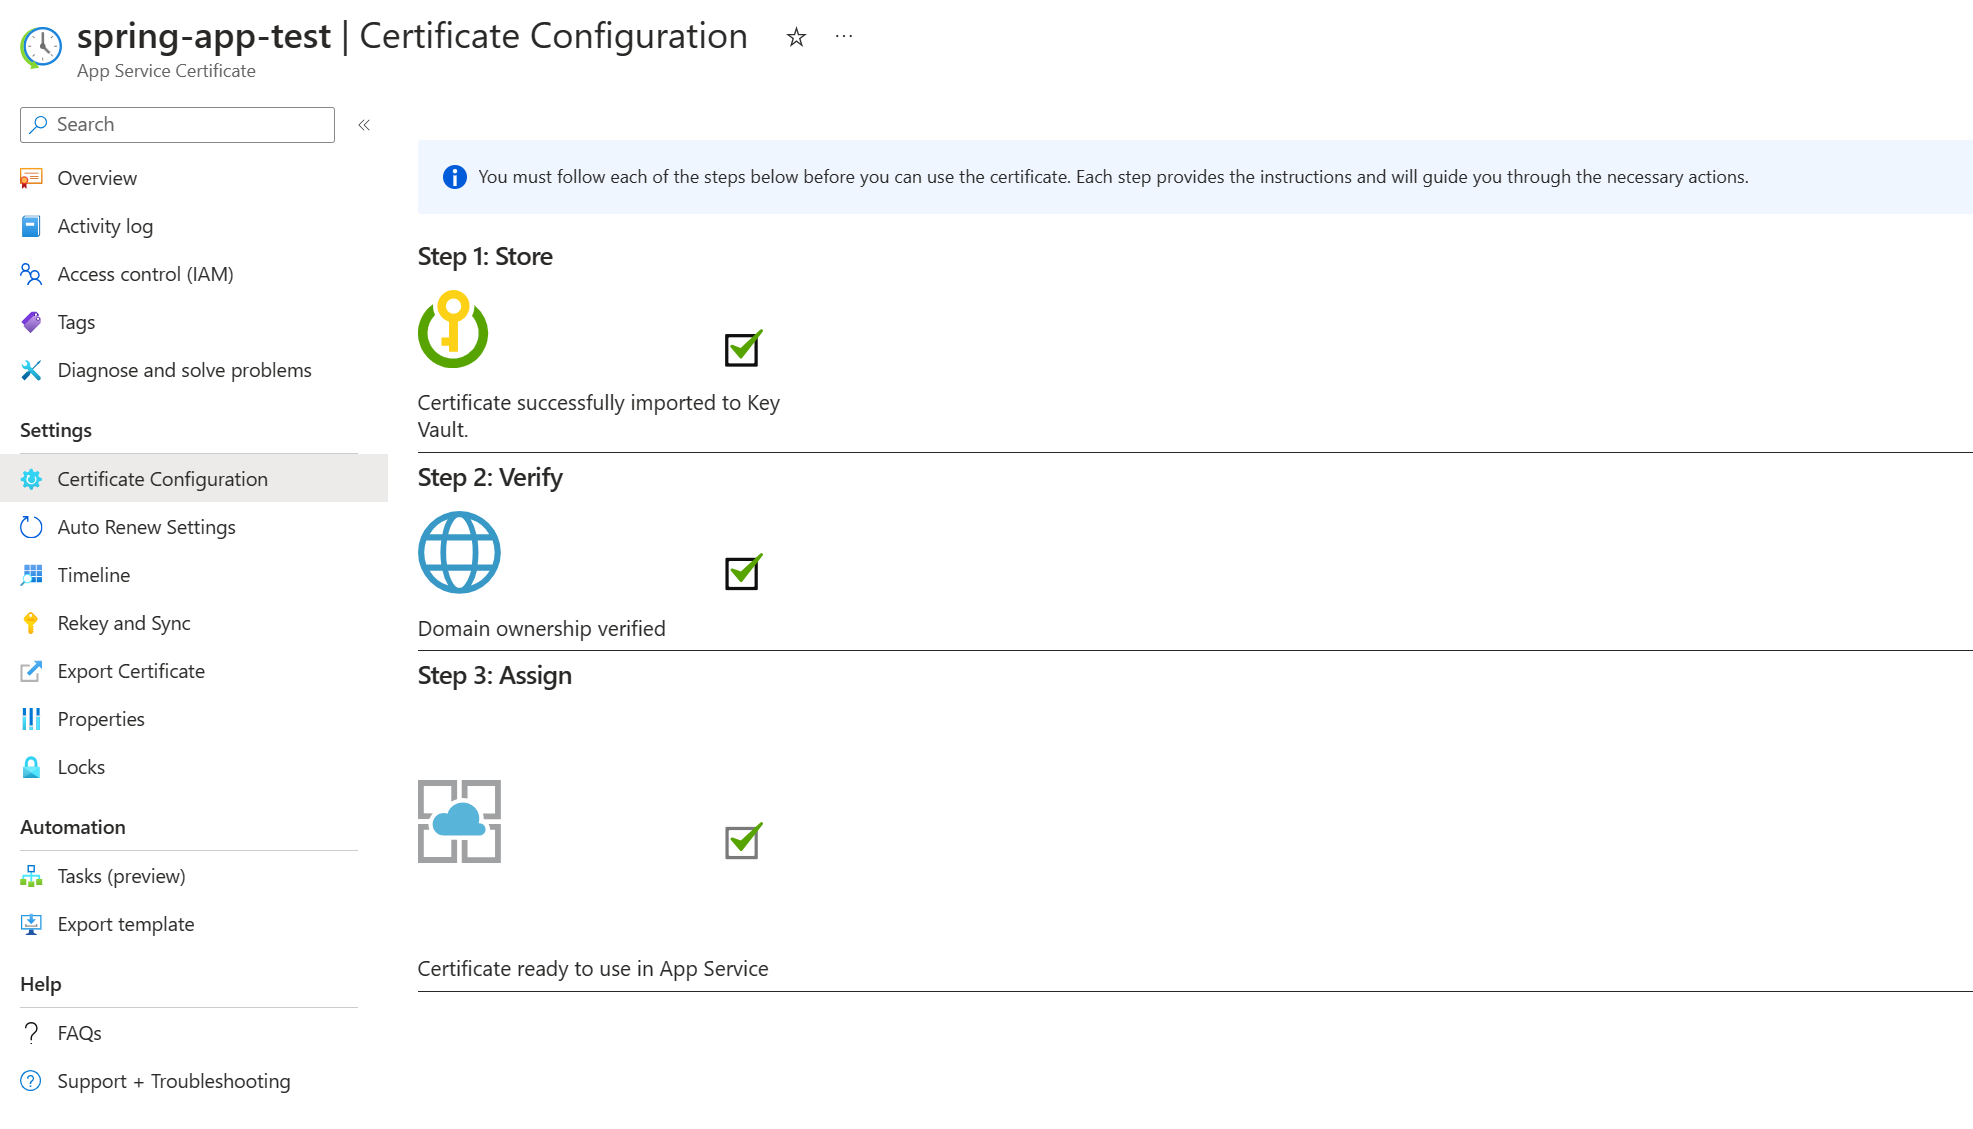
c. Export the certificate. You can export the certificate as a PFX file in Azure Portal referring to Add and manage App Service certificates - Azure App Service
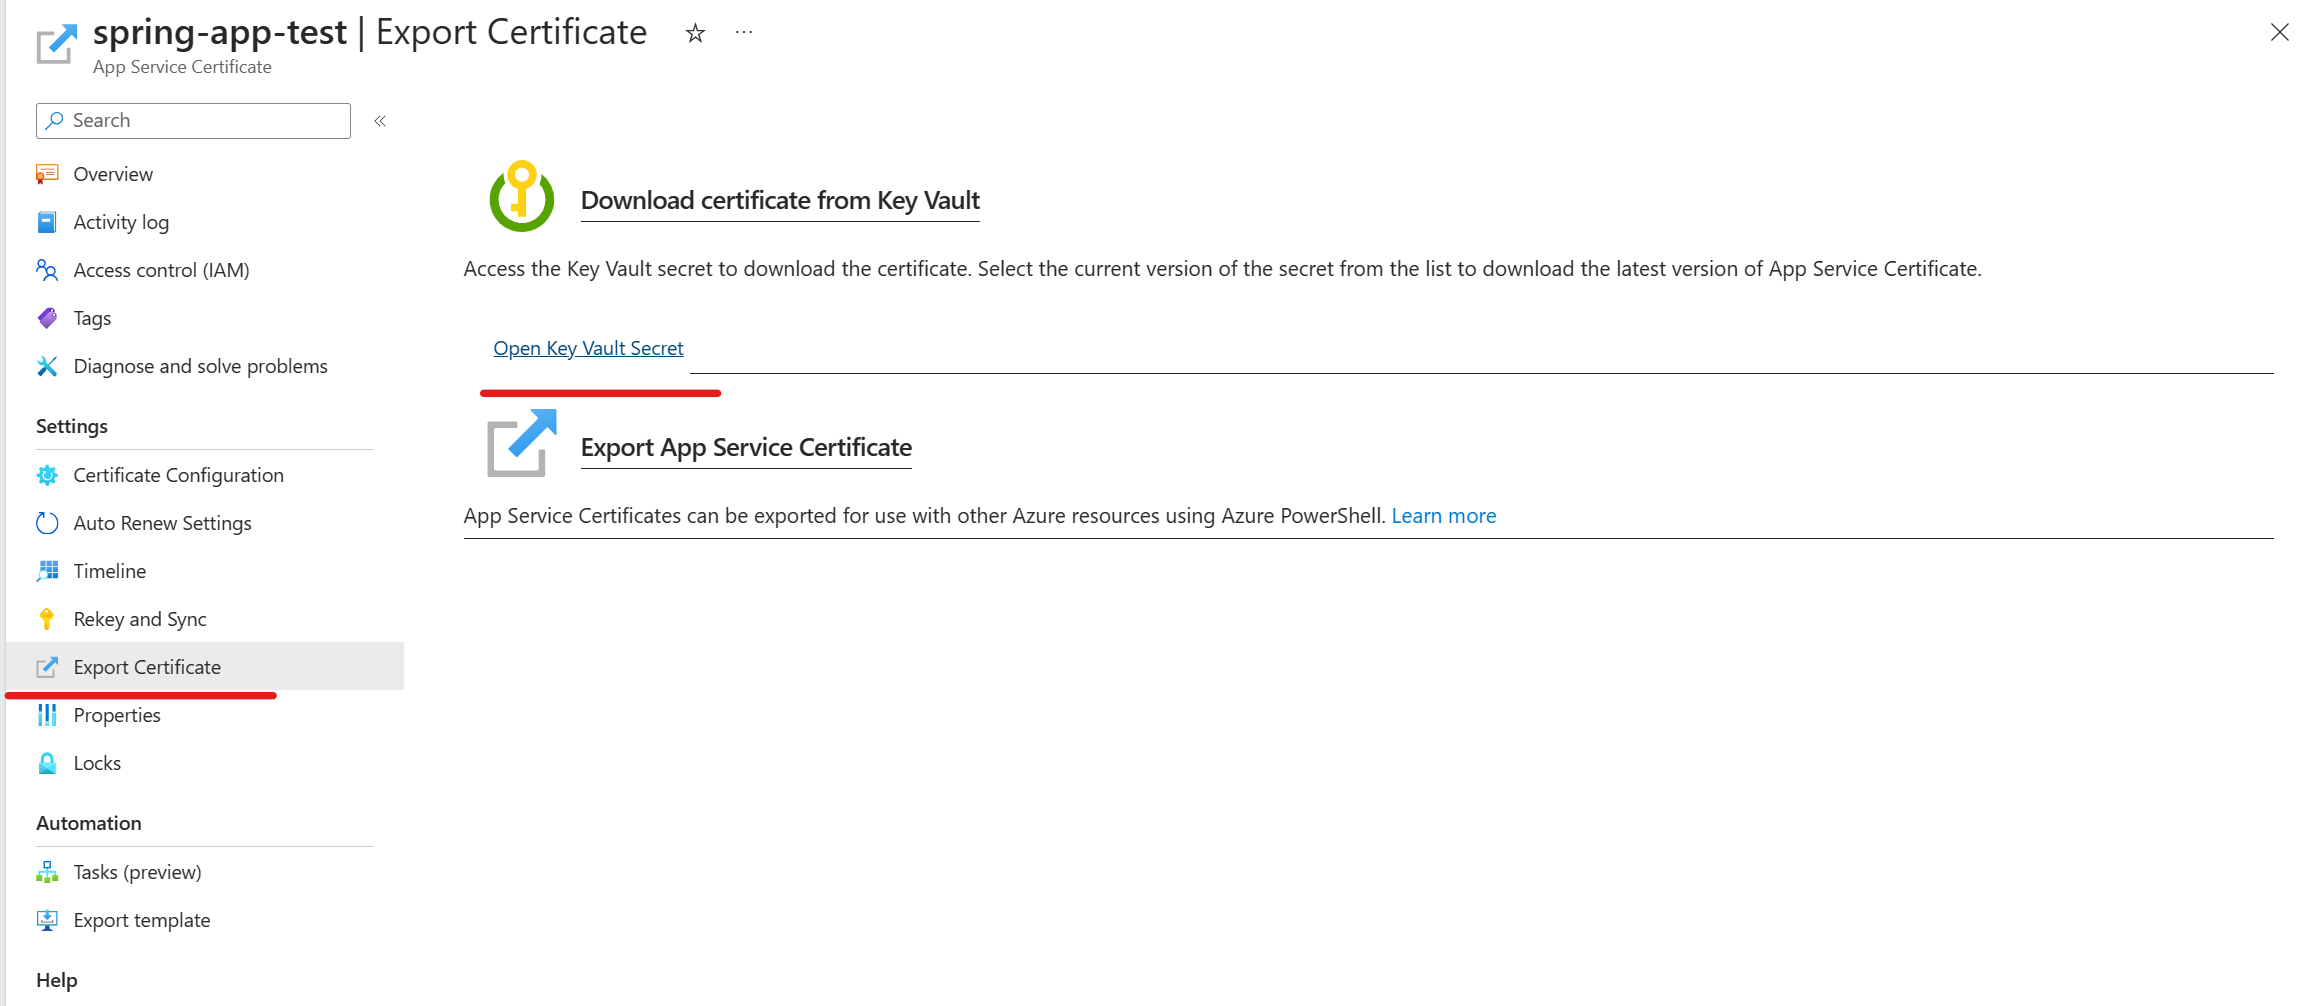
You can setup a password when export App Service Certificate by following the instructions in Export App Service Certificate and set up a password (microsoft.com)
3. Import and configurated the certificate
Please navigate to the Container App Environment we created previously in Azure Portal, add the certificated with password which we exported in Step 2 as shown below or exported from third party.
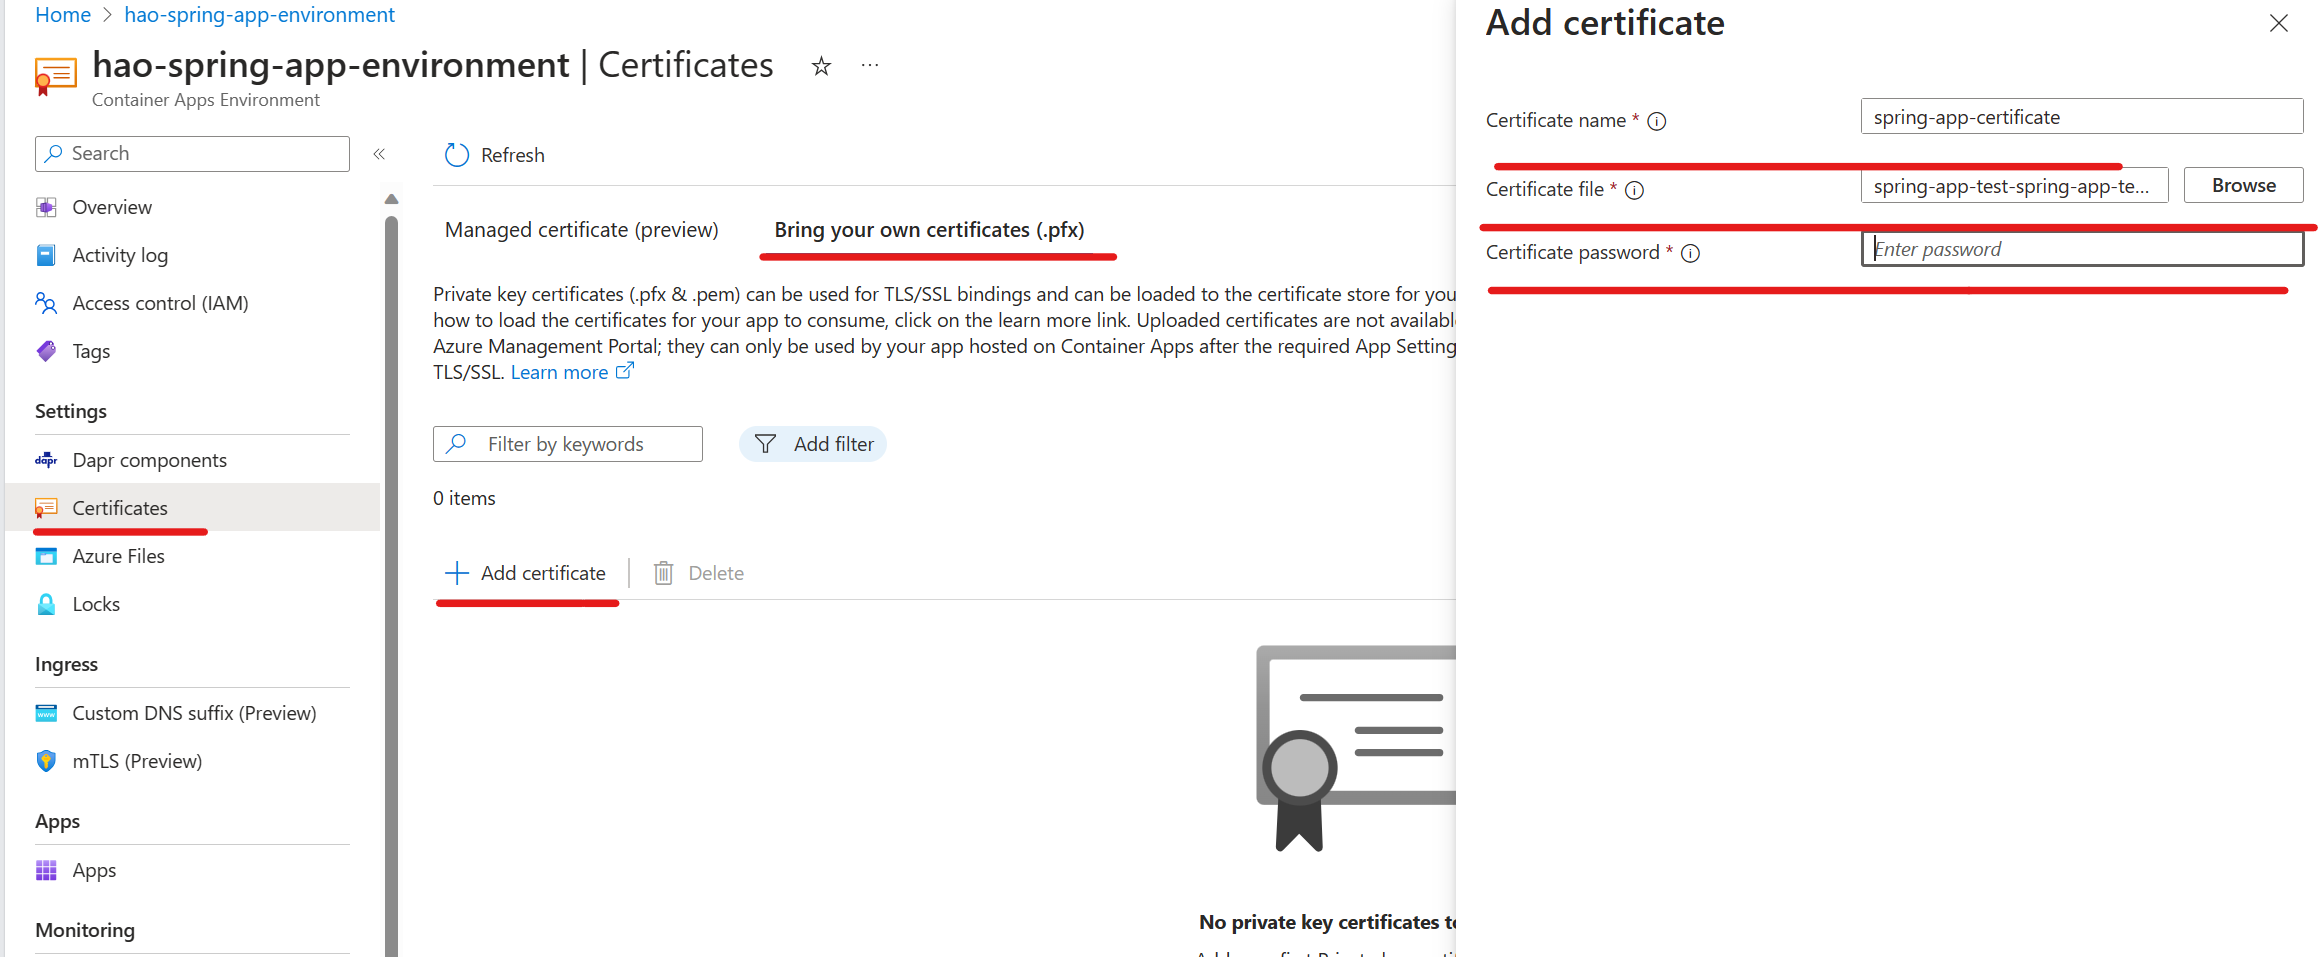
If you did not set up password in Step 2, we can use Azure CLI to upload this certificate as well. Here is a sample command for uploading a certificate for Container App Environment. For more details, please refer to here.
az containerapp env certificate upload -g MyResourceGroup --name MyEnvironment --certificate-file MyFilepath
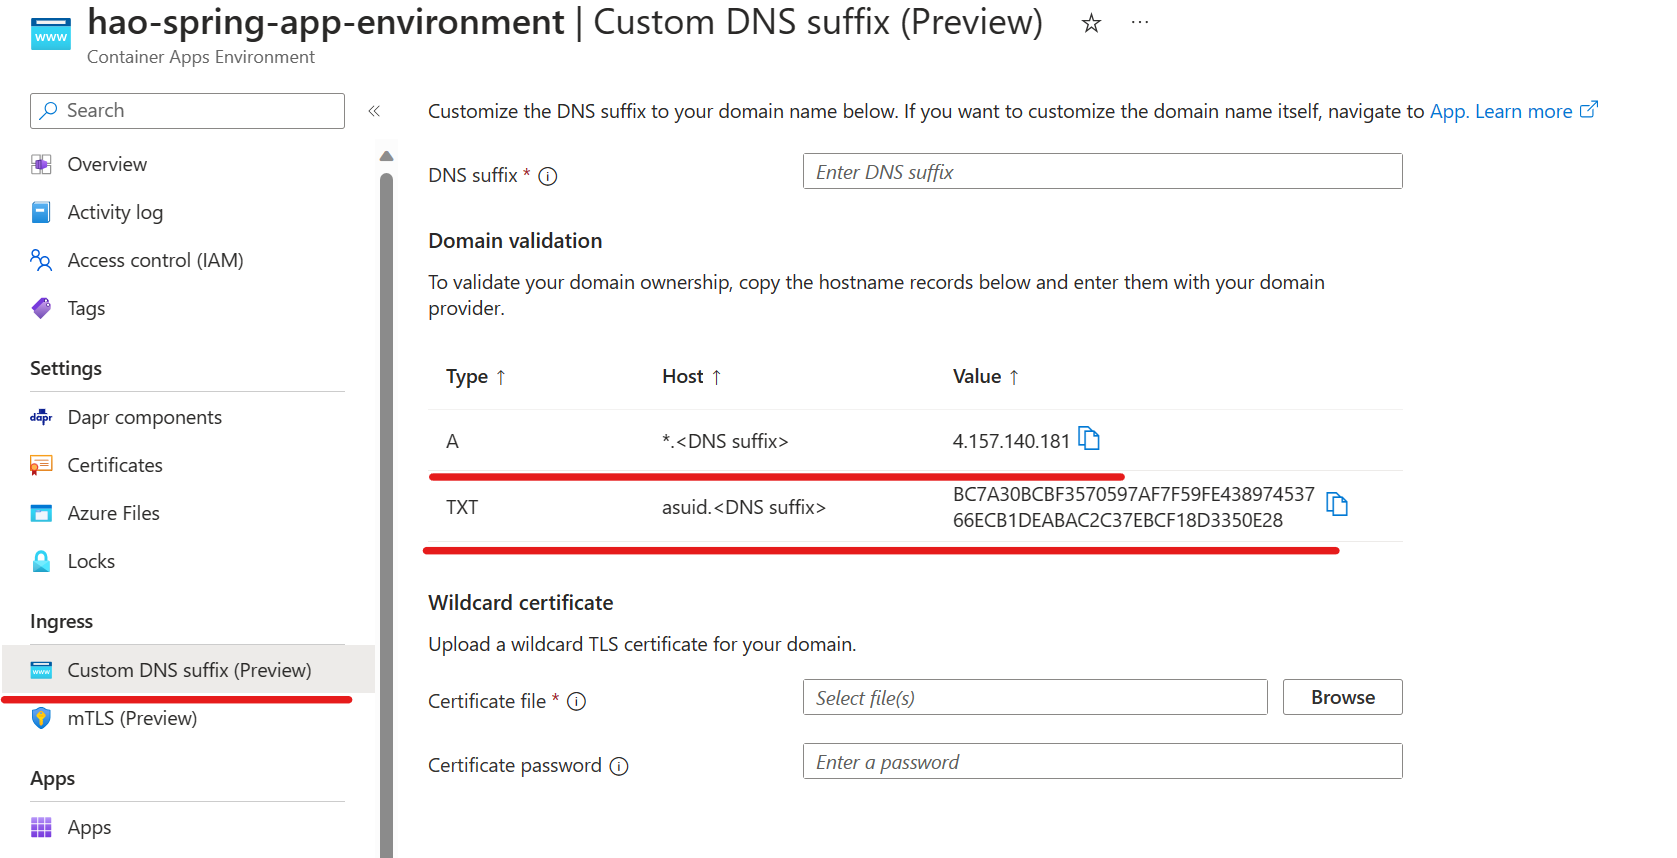
Once validation and add succeeds, please use the DNS provider that is hosting your domain, create DNS records based on the Hostname record type you selected using the values shown in the Domain validation section. The records point the domain to your container app and verify that you own it. For more details, please refer to Custom domain names and certificates in Azure Container Apps
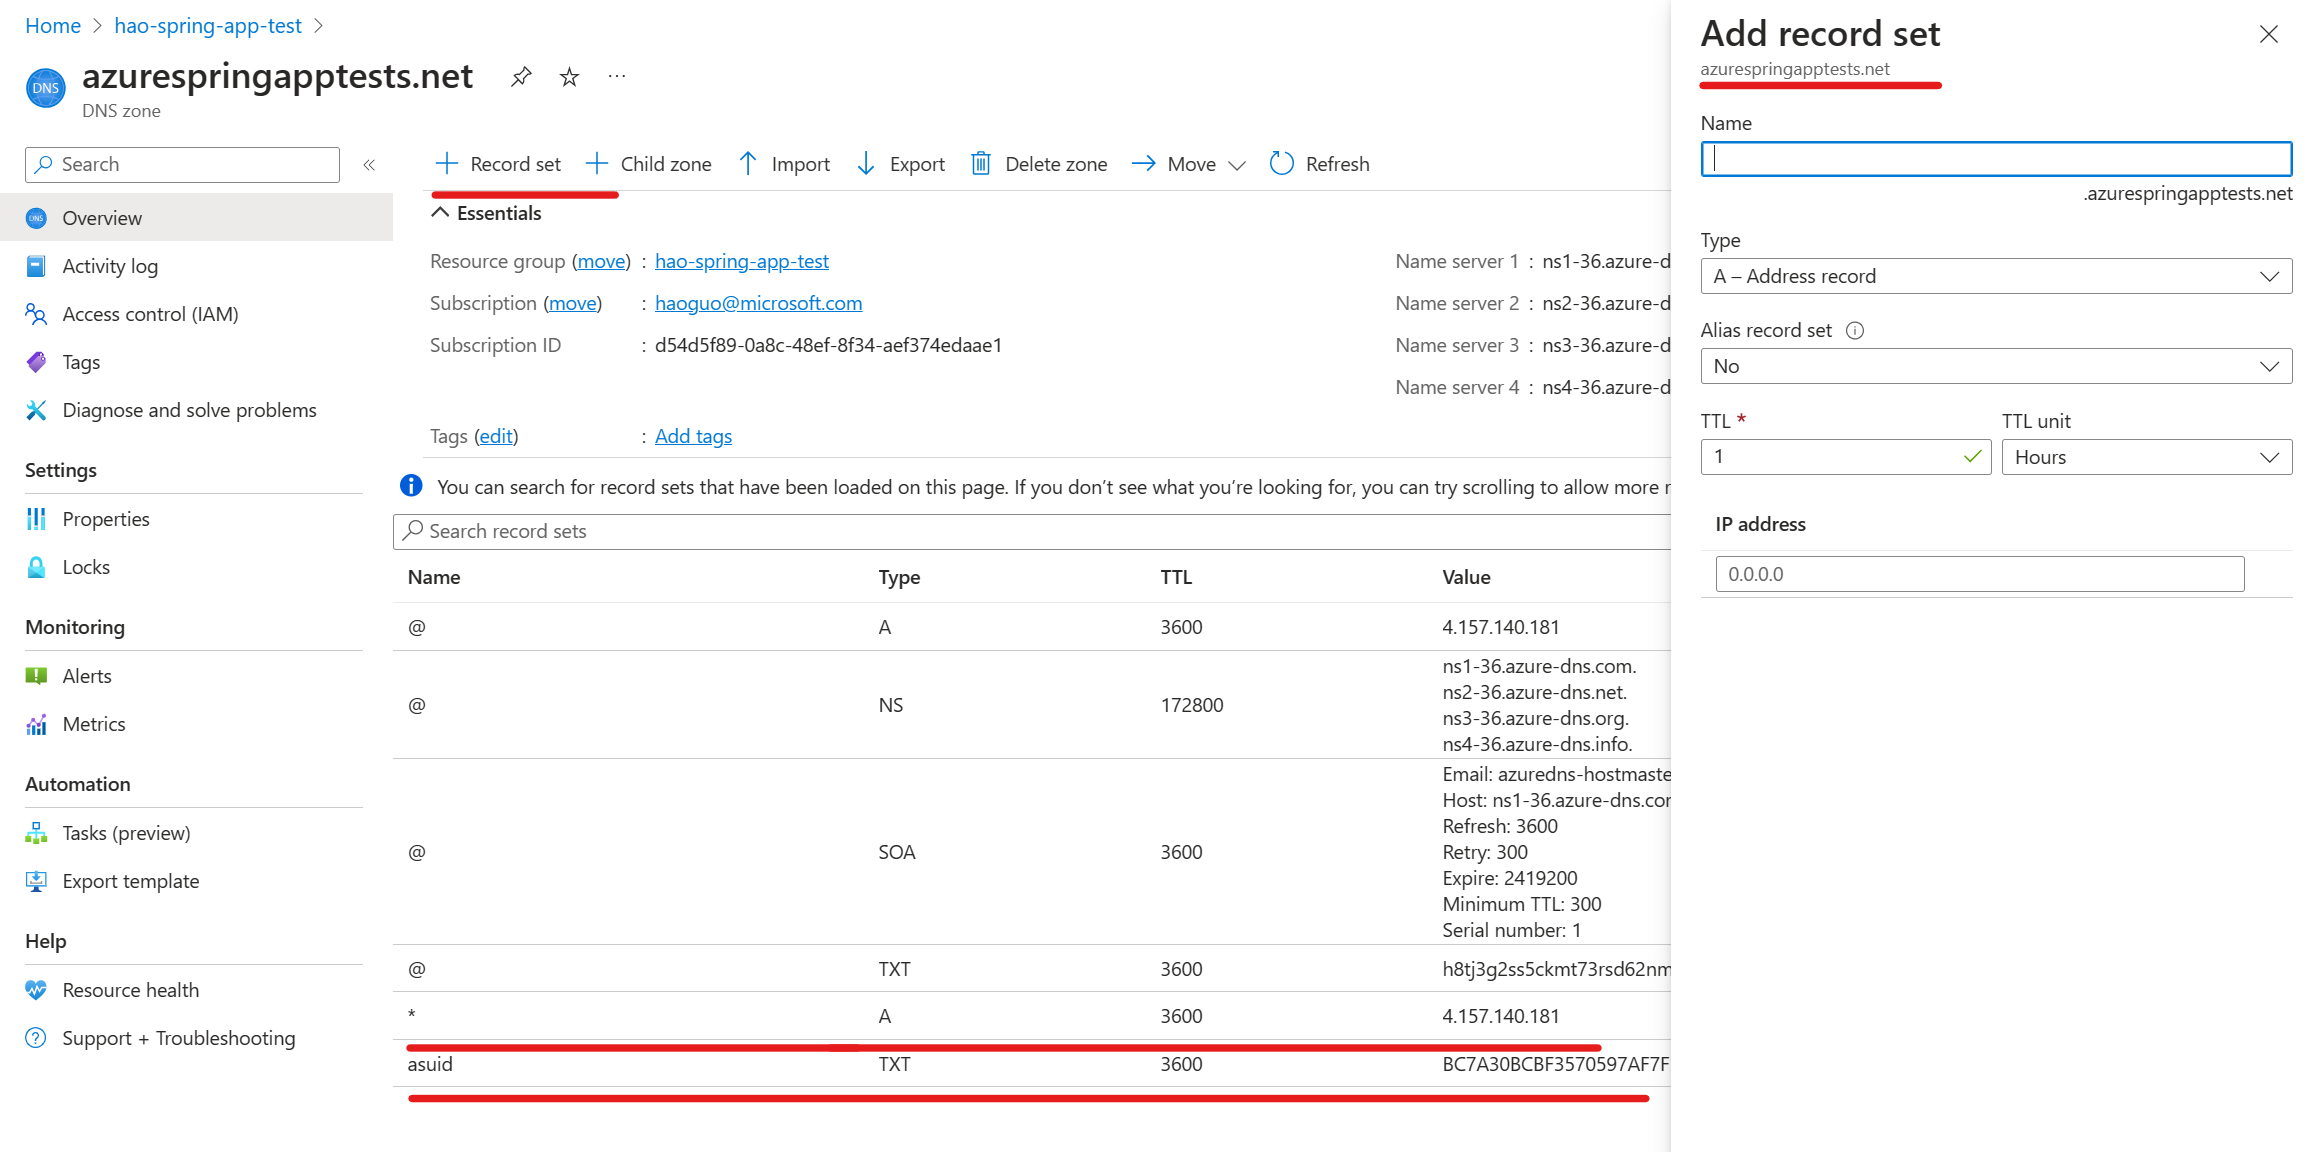
Now please navigate to the Custom DNS suffix (Preview) in Container Apps environment page as shown below and configurate the DNS records based on the information shown in the Domain validation section.
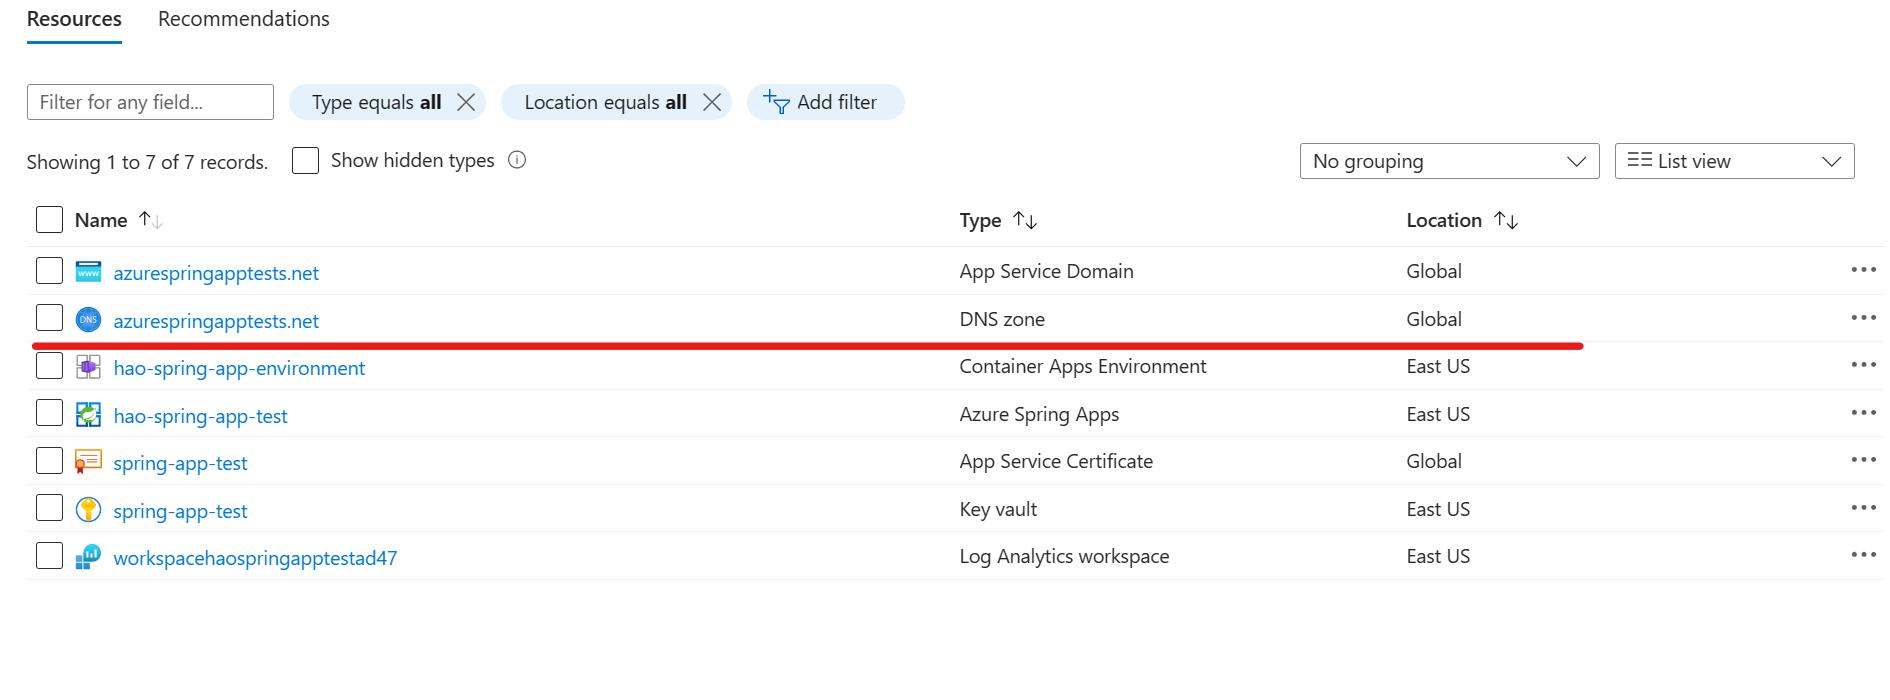
For the App Service custom domain, we can check the DNS zone resource in the same resource group with App Service Domain.
4. Bind the custom domain to your app
Please navigate to the application of Azure Spring Apps in Azure Portal, if you did not create and deploy your app, please refer to Quickstart: Build and deploy apps to Azure Spring Apps for more details. Please add the custom domain name and certificate (from Container Apps Environment) in Azure Portal as shown below.
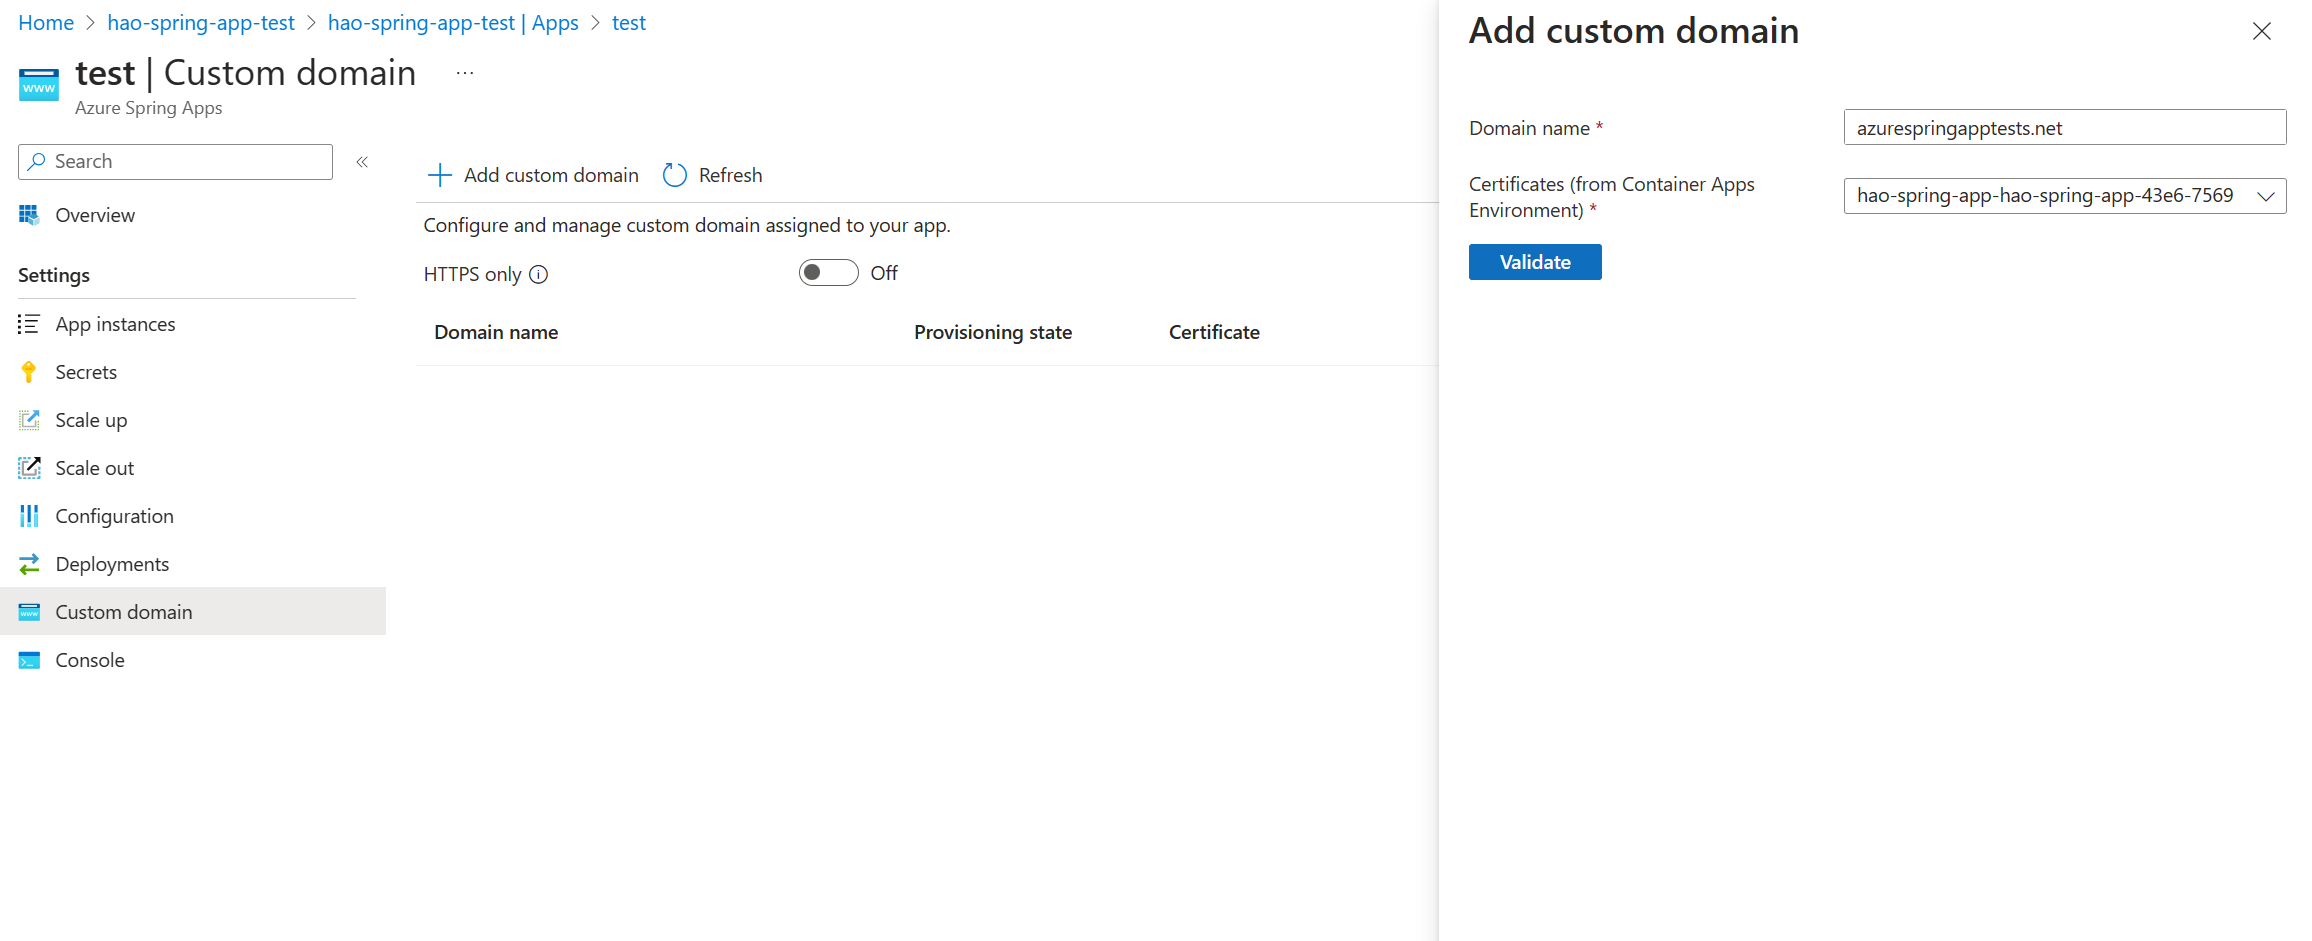
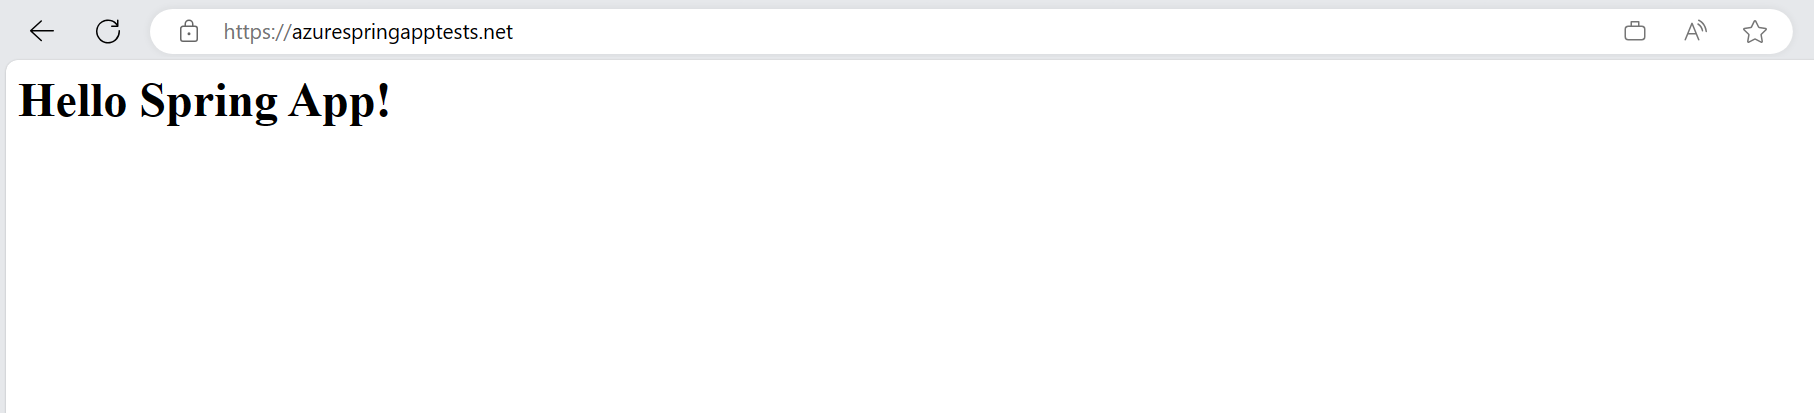
After validating and adding the custom domain successfully, we can use the custom domain currently!