Running self-hosted agent Jobs locally with KEDA for Container Apps
This post will explain how to run a self-hosted CI/CD agent locally with KEDA to be used as a way to test, validate, or troubleshoot Jobs in conjunction with Container Apps
Overview
Since the introduction of Jobs to Container Apps - usage for CI/CD agents acting as self-hosted agents has become popular. You can find quickstart tutorial on this for Container Apps here - Tutorial: Deploy self-hosted CI/CD runners and agents with Azure Container Apps jobs
As with anything in programming and development - things don’t work sometimes. Given the nature of what Jobs and KEDA is - it may be hard to set up an environment that’s closely related to Container Apps to troubleshoot certain scenarios.
This post will cover how to do that - from a basic and general standpoint - the goal of this post is to show how to use KEDA to scale your self-hosted agents when work is in the queue for either GitHub Actions or Azure Pipelines from your local machine.
Of course, a local environment will not be a 1:1 copy of what Container Apps is - however, this can be very useful when trying to set up a proof-of-concept, or testing out a first time deployment, and essentially being able to confirm that the application, CI/CD process and/or the KEDA scaler and its metadata being used works.
Running into issues here (whether its with the KEDA scaler and the metadata used or from an application runtime perspective) will likely then potentially manifest when deployed to Container Apps. You can follow Troubleshooting Container App Jobs when using self-hosted CI/CD runners and agents which also could apply from a local troubleshooting standpoint.
Prerequisites
Kubernetes
There are various ways to get a test cluster created, but for the sake of this post, a extremely simple way is to just use Docker Desktop and enable Kubernetes, which creates a single node cluster. To enable:
- Go to Docker Desktop - Click the “Gear” icon in the top right -> Kubernetes -> Select “Enable Kubernetes” -> Apply & restart
See Deploy on Kubernetes with Docker Desktop for steps as well as additional information.
Helm
We next want to install Helm, which is a package manager for Kuberenetes, to be able to install KEDA. You can follow the below steps for installation or go to the Helm Installation Guide:
- Windows: Install via Chocolatey:
choco install kubernetes-helm -
Linux (Debian/Ubuntu):
curl https://baltocdn.com/helm/signing.asc | gpg --dearmor | sudo tee /usr/share/keyrings/helm.gpg > /dev/null sudo apt-get install apt-transport-https --yes echo "deb [arch=$(dpkg --print-architecture) signed-by=/usr/share/keyrings/helm.gpg] https://baltocdn.com/helm/stable/debian/ all main" | sudo tee /etc/apt/sources.list.d/helm-stable-debian.list sudo apt-get update sudo apt-get install helm - Validate this is installed by running
helm versionin a terminal
KEDA
- With Helm installed, you can easily install KEDA into your Docker Desktop cluster. Run the following commands:
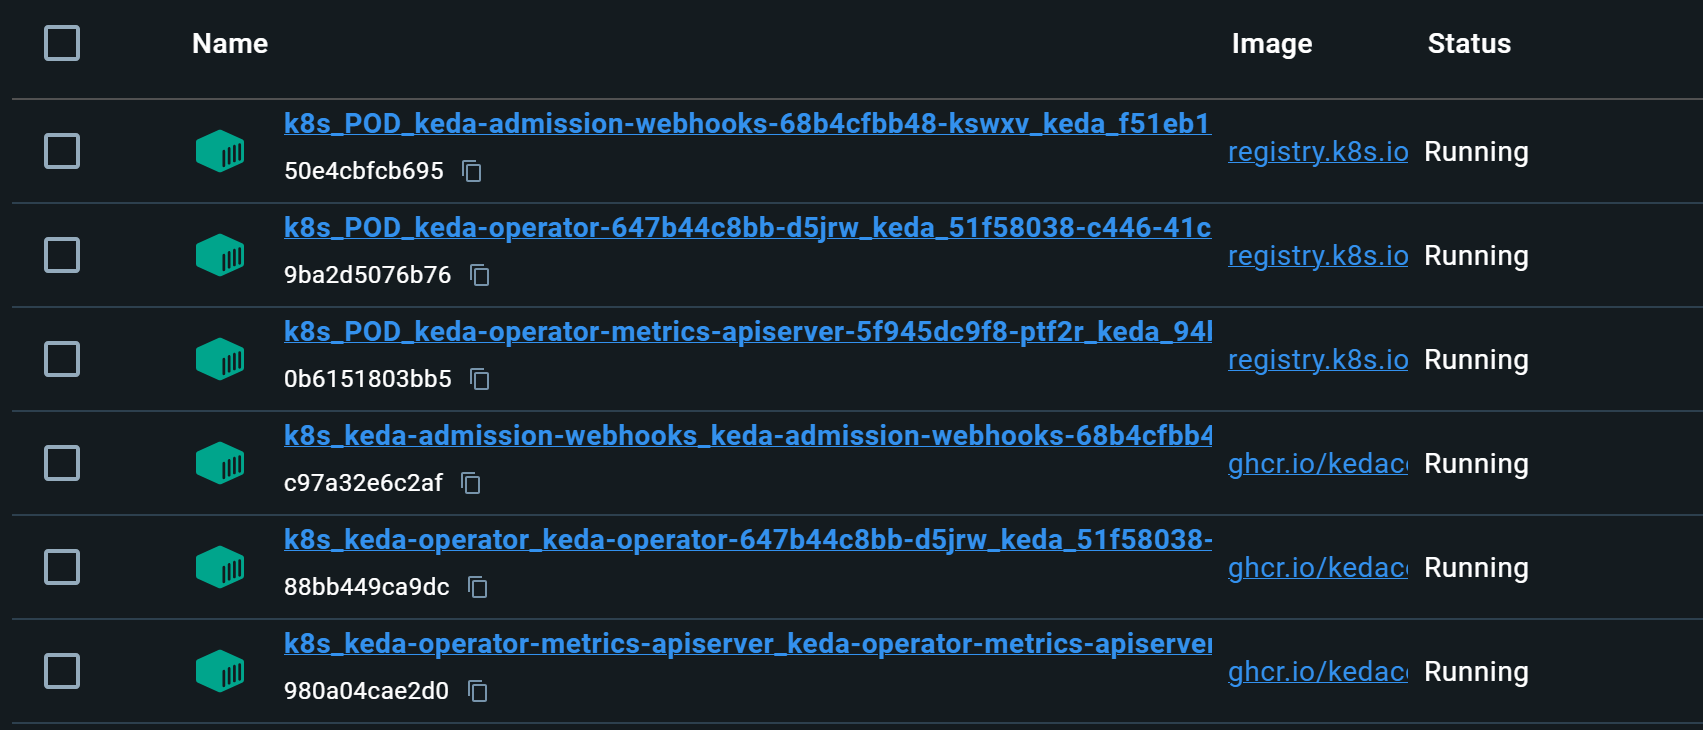
helm repo add kedacore https://kedacore.github.io/chartshelm repo updatehelm install keda kedacore/keda --namespace keda --create-namespace- After a successful KEDA installation you should see KEDA pods in your Docker Desktop cluster

Deployment
You can now use the below ScaledJobs to deploy to your .yamls to and use as local self-hosted agents. Ensure the rest of the tutorial is followed for setting up specific implementations of Azure Pipelines or GitHub Actions:
Azure Pipelines
- Follow Tutorial: Deploy self-hosted CI/CD runners and agents with Azure Container Apps jobs to create a PAT and a new placeholder agent pool to be used in the following
.yaml.
apiVersion: v1
kind: Secret
type: Opaque
metadata:
  name: azp-auth
data:
  personalAccessToken: "000"
---
apiVersion: keda.sh/v1alpha1
kind: TriggerAuthentication
metadata:
  name: azp-trigger-auth
  namespace: default
spec:
  secretTargetRef:
    - parameter: personalAccessToken
      name: azp-auth
      key: personalAccessToken
---
apiVersion: keda.sh/v1alpha1
kind: ScaledJob
metadata:
  name: azure-pipelines
  namespace: default
spec:
  minReplicaCount: 0
  maxReplicaCount: 1
  jobTargetRef:
    template:
      spec:
        containers:
        - name: azure-pipelines
          env:
          - name: AZP_TOKEN
            value: "000"
          - name: AZP_URL
            value: "https://dev.azure.com/user"
          - name: AZP_POOL
            value: "container-apps"
          image: self-hosted-azure-pipelines-runner:latest
          imagePullPolicy: IfNotPresent
        restartPolicy: Never
  triggers:
  - type: azure-pipelines
    metadata:
      organizationURLFromEnv: "AZP_URL"
      personalAccessTokenFromEnv: "AZP_TOKEN"
      poolName: "container-apps"
    authenticationRef:
      name: azp-trigger-auth
GitHub Actions:
- Follow Tutorial: Deploy self-hosted CI/CD runners and agents with Azure Container Apps jobs on how to create a PAT to be used in the following
.yaml.
apiVersion: v1
kind: Secret
type: Opaque
metadata:
  name: github-auth
data:
  personalAccessToken: "a_base64_encoded_string"
---
apiVersion: keda.sh/v1alpha1
kind: TriggerAuthentication
metadata:
  name: github-trigger-auth
  namespace: default
spec:
  secretTargetRef:
    - parameter: personalAccessToken
      name: github-auth
      key: personalAccessToken
---
apiVersion: keda.sh/v1alpha1
kind: ScaledJob
metadata:
  name: github-runner
  namespace: default
spec:
  minReplicaCount: 0
  maxReplicaCount: 1
  jobTargetRef:
    template:
      spec:
        containers:
        - name: github-runner
          env:
          - name: GITHUB_PAT
            value: "github_pat_token"
          - name: REPO_OWNER
            value: "someowner"
          - name: REPO_NAME
            value: "somerepo"
          - name: REPO_URL
            value: "https://github.com/$(REPO_OWNER)/$(REPO_NAME)"
          - name: REGISTRATION_TOKEN_API_URL
            value: "https://api.github.com/repos/$(REPO_OWNER)/$(REPO_NAME)/actions/runners/registration-token"
          image: your-runner-image:latest
          imagePullPolicy: IfNotPresent
        restartPolicy: Never
  triggers:
  - type: github-runner
    metadata:
      ownerFromEnv: "REPO_OWNER"
      runnerScope: "repo"
      reposFromEnv: "REPO_NAME"
      targetWorkflowQueueLength: "1"
    authenticationRef:
      name: github-trigger-auth
These can both be deployed locally to your cluster with kubectl apply -f nameofyourfile.yaml
NOTE: FromEnv takes metadata from environment variables. The value defined witth properties ending in FromEnv should have a matching environmnet variable name with a populated value - see the KEDA - Github Runner and KEDA - Azure Pipelines documentation
NOTE: Both examples expects a base64 encoded string secret. You can encode your string with the following and copy/paste the value where it says “a_base64_encoded_string” - use the command
echo -n "github_pat_11aabbc" | base64orecho -n "yourazptoken" | base64
Now, when work appears in either the GitHub or Azure Pipelines queue, you’ll see a pod and subsequentially a container for the runner be created and executed on your local machine:

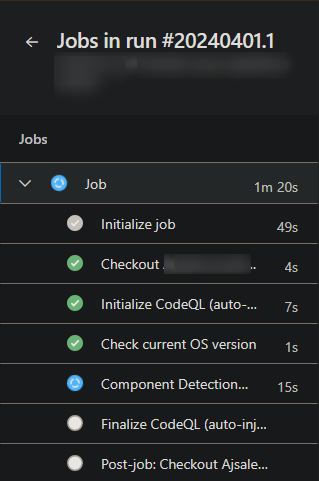
If you check on the GitHub or Azure Pipelines side (depending which one you’re using), you should see the pipeline be picked up by a self-hosted agent:


