LAMP Migration to Web Apps
NOTE: Please take a full backup of your code and database before performing any changes to your site.
This document talks about steps involved in migrating LAMP/WAMP stack from on premise to Azure using Web Apps and a MySQL Database hosted by ClearDB or on an IaaS VM.
There are different steps involved in moving an on premise LAMP/WAMP stack to the Azure platform. Those can be divided into the following:
1) Data Migration
2) Content Migration
3) Change Settings
Data Migration:
There are two options for MySQL databases on Azure platforms. You can use either a MySQL instance provided by ClearDB (SaaS) or host your own MySQL database (IaaS VM).
The first step in data migration involves exporting your current database. This can be done using the mysqldump (available in your mysql server installation bin folder) executable or through the MySQL Workbench tool. Here is a sample of the mysqldump command through the command line.
mysqldump --user=username --password --host=hostname --protocol=tcp --port=3306 --add-drop-table –create-options --default-character=utf8 --single-transaction=TRUE --routines --events "SCHEMANAME" > /path/to/myschemadump.sql
The above command will dump a Single Self-Contained sql file called “myschemadump.sql” in the path you specified.
Based on which offering (SaaS or IaaS) you are using, you have to do the following:
1) SaaS (Software as a Service) is provided through ClearDB. They have different offerings which can be seen here: https://www.cleardb.com/store/azure. Steps for creating a ClearDB MySQL database are listed here: http://azure.microsoft.com/en-us/documentation/articles/store-php-create-mysql-database/
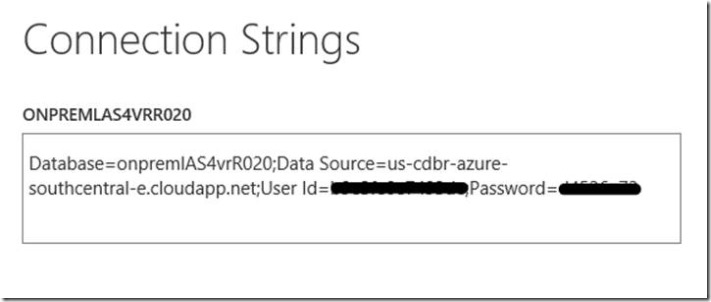
a. Once a ClearDB MySQL database is created, you can view the connection info which will have this information:
- Database ( Schema Name)
- Data Source (Server Host Name)
- User Id ( User Id to use for connecting to MySQL)
- Password (Password to use for connecting to MySQL)
b. You can connect to the database using MySQL Workbench and import data into your database. You can use the Single Self-Contained sql file created above to import the data into this new database.
c. Before importing, you will need to change the schema name to the appropriate database name created with ClearDB.
- i. For example: if the export included the create database option, then the first two lines of the sql file will be like this:
- Comment out the first line and keep the second line. In the second line, ‘schemaname’ should be replaced with the ClearDB schema name.
d. Run all the sql statements at one go. This will create all tables/views etc from your on premise database.
e. When using a ClearDB MySQL database, there is only one database user id that is permitted to connect, so you will need to change your application to use this userid.
f. Code references for database connections should be updated to point to this ClearDB instance.
2) IaaS (Infrastructure as a Service): You can create your own VM (Linux) and install a MySQL database server on it. Please follow this article to create your own VM and open connectivity to the database from a remote host: http://azure.microsoft.com/blog/2014/09/02/create-your-own-dedicated-mysql-server-for-your-azure-websites/. The article describes how to create a MySQL server on an Ubuntu server. You can use your own flavor or Linux and install MySQL.
a. Once your VM is created and a MySQL server is installed/configured and opened for remote access, you can connect to it through MySQL Workbench.
b. After connecting, you can directly import data using the data import tool. This will create the schema along with the data that was exported from your on premise database.
c. You will need to create users that were present on your on premise database separately. The data import tool will not create them.
d. Code references for database connections should be updated to point to this VM.
Content Migration:
Before you migrate your content, you will need to find out the version of PHP you will be using with the Web Apps. You can quick create a website using the Azure Portal and after creation set the PHP version which matches your code. After creating the website, you can deploy your code from source control tools like GitHub, Dropbox, Bitbucket, Codeplex or Visual Studio Online. If you don’t use these, you can also FTP your code. Different deployment choices are listed here: http://azure.microsoft.com/en-us/documentation/articles/web-sites-deploy/
If you are FTPing your code to a website, you can use this article: http://blogs.msdn.com/b/waws/archive/2014/02/20/how-to-ftp-into-a-waws-site.aspx and upload your website code under site/wwwroot. This is the root directory for Web Apps.
You can change any references to the old on premise website/database and point to the new website address and database address.
Settings Migration:
Any settings pertaining to SSL certificates, database connections, file system references etc. will need to be changed accordingly. These can be on file system or database or a combination of both.
Example: We will look into migrating an on premise wordpress install to Azure using Web Apps and a ClearDB database.
WordPress Migration
Export data from on premise database:
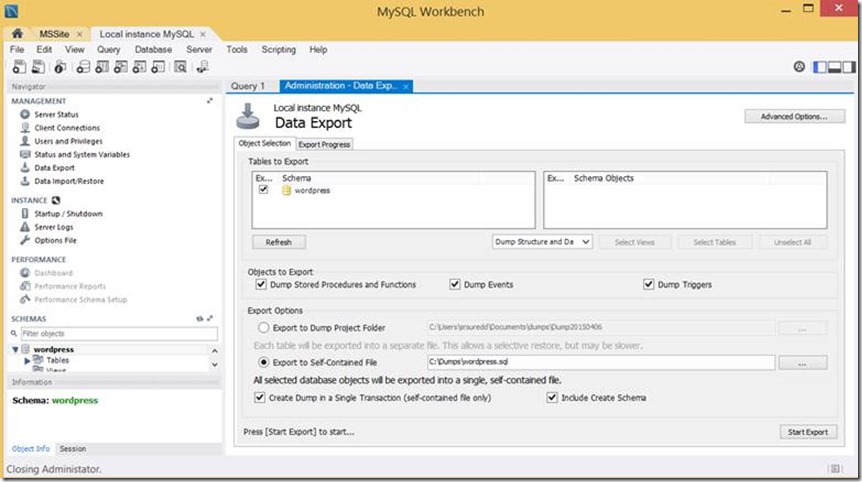
Check all the options selected above and click Start Export. This will create a Single Self-Contained sql file in C:\Dumps\wordpress.sql.
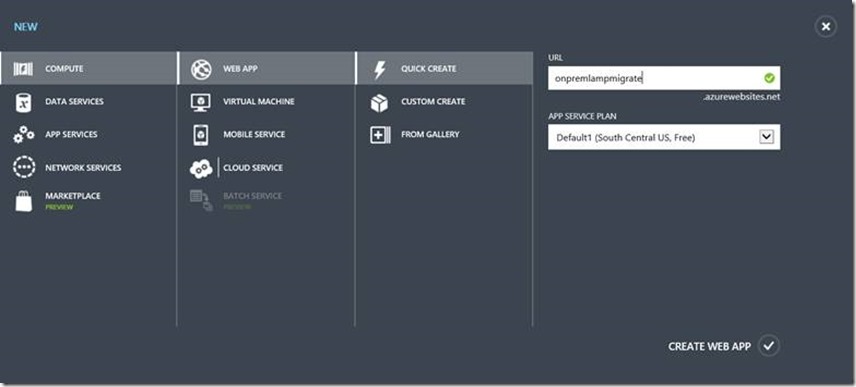
Now create a Web App using the Azure Management Portal:
Once you click on Create Web App, a Web App is created and it should enter into running status. The list should show up like this:
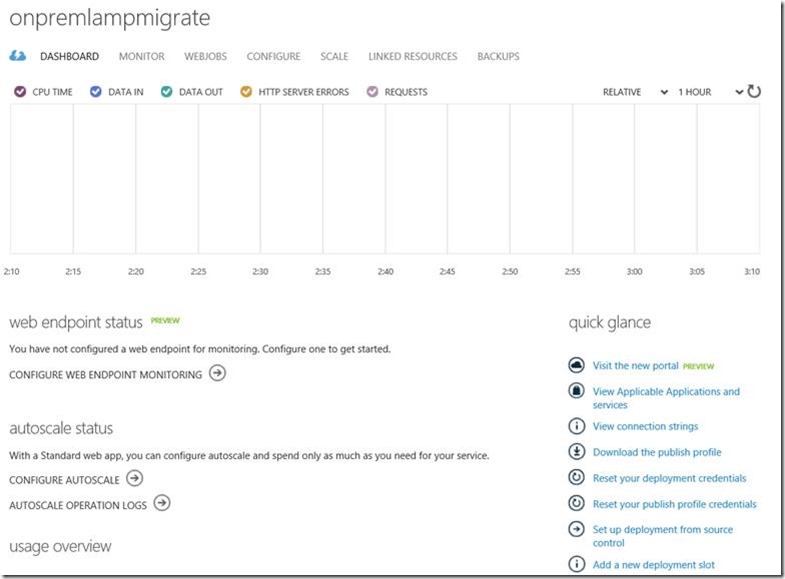
Click on the Web App we just created with name “onpremlampmigrate”. It should have several menu options. You can click on Dashboard which will take you to below page which has all FTP and connection strings information.
At this point, you can click on Linked Resources to check if there are any databases associated with the Web App. There should be none at this time.
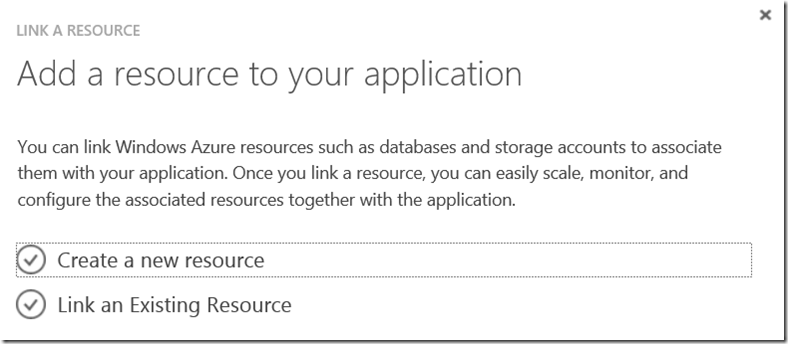
Click on Link a Resource and it will ask you to create or link an existing resource.
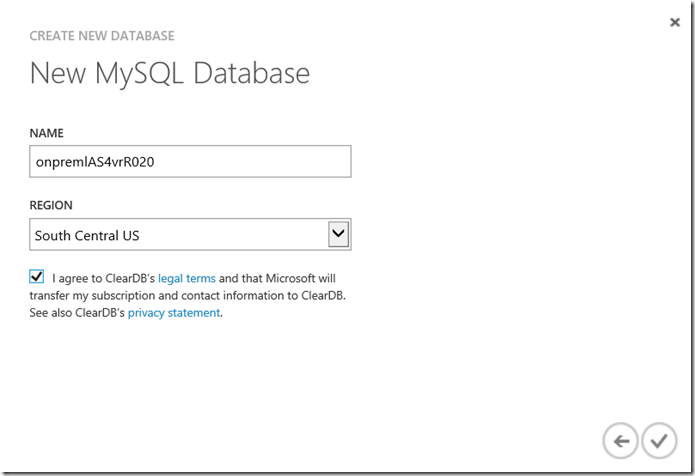
Click on create a new resource and select MySQL Database resource. It will give you the following screen to create a new database with ClearDB.
Once you agree to ClearDB’s legal terms, you can complete this linkage. Once the database is created, you will see a ClearDB database link from Linked Resource page.
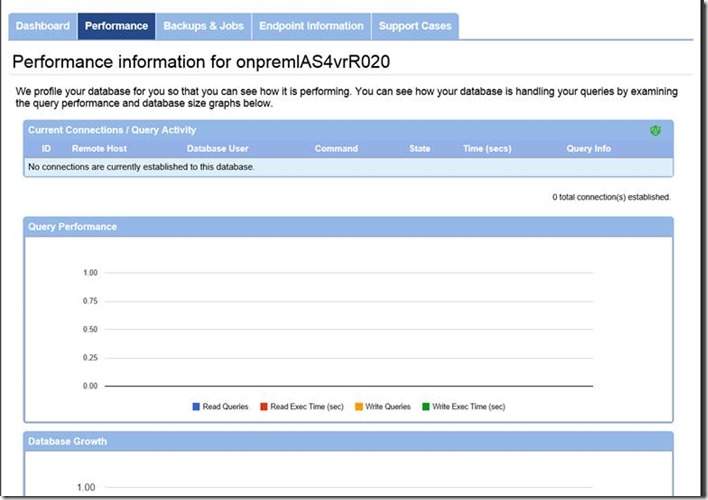
If you click on the database name ‘onpremlAS4vrR020’, it will take you to ClearDB dashboard where you can view the database information:
You can schedule backups or jobs from this site. If you go back to the Azure portal and browse to the dashboard page of the Web App , you can view the connection strings:
With these settings you can connect to the database using MySQL Workbench and execute the wordpress.sql that was created earlier. You will need to comment out the first line and change the schema name to match the ClearDB database name like below:
You will need to find and replace references to your old site URL with the new site URL. You can use either the *.azurewebsites.net URL or the custom domain name URL. We will use *.azurewebsites.net URL for this example.
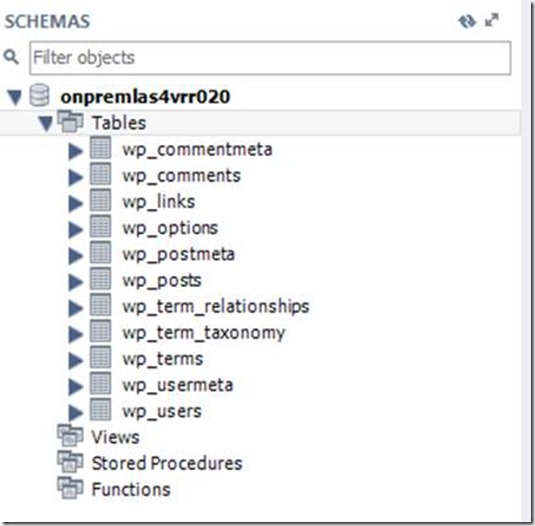
You can now select all the statements and execute the statements at one go. This should create the tables and import all the data which was exported from on premise database. You should see tables like below:
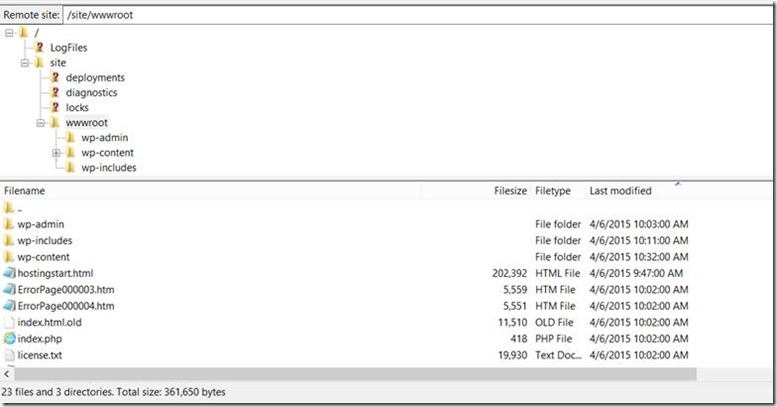
At this point, you have all the data exported from on premise to the ClearDB database. You will now need to migrate your code from on premise to the Web App. If your on premise code is running on LAMP (Ubuntu/Redhat/Centos etc), you can find the code under /var/www/html. You can directly FTP the code to Azure like below:
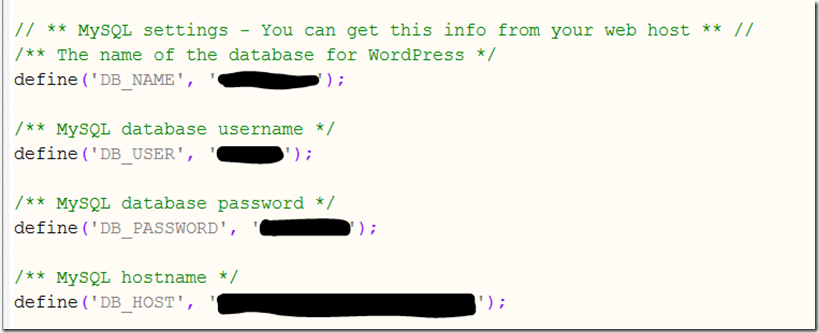
Once you have copied all your code (wordpress code) from on premise to Azure, you can open the files using WebMatrix (on windows) or download the code to local machine using FTP and modify and upload the file back. In our Wordpress migration, we will need to modify one file which is under site/wwwroot. The file name is wp-config.php. You will need to modify all four of these values to match what we got in connection string.
DB_NAME is the Database, DB_USER is the User Id, DB_PASSWORD is the Password and DB_HOST is the Data Source from ClearDB Connection String. This would differ if you have an IaaS VM hosting a MySQL database.
There is another setting for multi-site WordPress, which we are not covering here that also needs to be changed to look at the right URL.
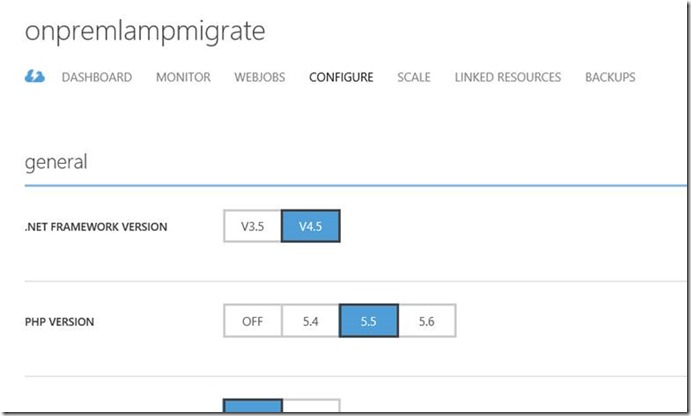
Once you make these changes, you will need to go into Configure portion of your website and change the PHP version accordingly. In this case, I used PHP 5.5 version, so I choose 5.5. If you are changing versions, you will need to save your settings to the portal.
Once these changes are done, you can restart the Web App Website from management portal and browse to the URL and you should be able to login. The below is an example:
http://onpremlampmigrate.azurewebsites.net/wp-login.php
NOTE: Any customizations like header, footer, background, permalink settings etc. will need to be changed to match the on premise settings. These will not be migrated.

